 Server
Colocation
 CDN
Network
 Linux Cloud
Hosting
 VMware Public
Cloud
 Multi-Cloud
Hosting
 Cloud
Server Hosting
 Kubernetes
 API Gateway

Increasing the upload size for DirectAdmin File Manager involves adjusting several settings within both DirectAdmin and the server to accommodate larger file uploads. This process is crucial for users who need to manage and upload large files directly through the DirectAdmin File Manager. Below is a comprehensive guide to achieve this:
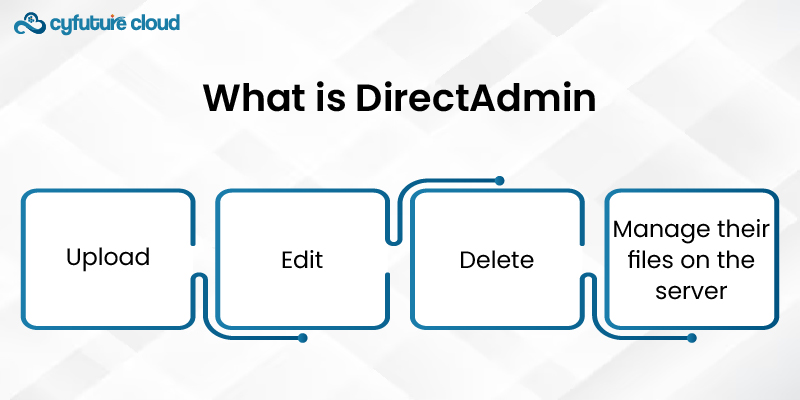
DirectAdmin is a web hosting control panel. It allows users to manage their websites easily. The File Manager is a tool that lets users:
- Upload
- Edit
- Delete
- Manage their files on the server
There are limitations on the maximum file size that can be uploaded via the File Manager. The server's PHP configuration and the DirectAdmin settings often dictate it.
To increase the upload size, you need to modify the following configuration files:
This file contains the PHP configuration settings.
This file contains the DirectAdmin configuration settings.
The PHP configuration file (php.ini) controls several parameters related to file uploads. To increase the upload size, you need to adjust:
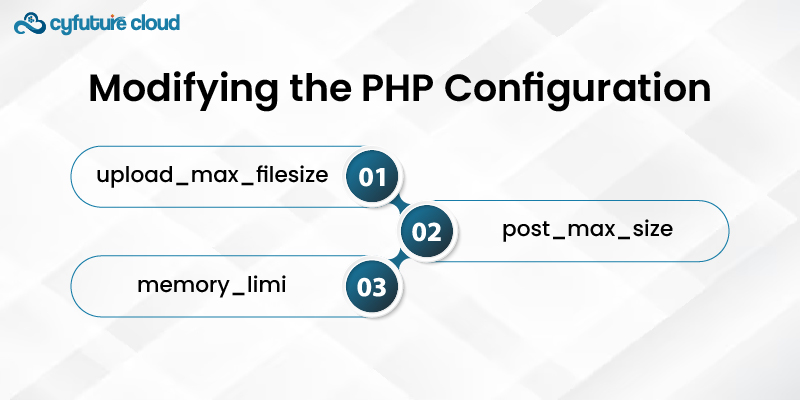
This sets the maximum size of an uploaded file.
This sets the maximum size of POST data that PHP will accept. It should be larger than upload_max_filesize.
This sets the maximum amount of memory a script can consume. It should be larger than post_max_size.
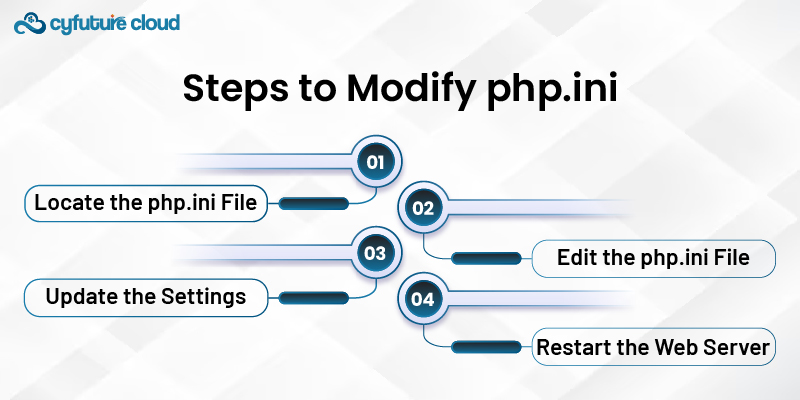
The location of the php.ini file depends on your server setup.
Common locations include
- /etc/php.ini,
- /usr/local/lib/php.ini,
- /etc/php/7.x/apache2/php.ini (for PHP 7.x versions).
2. Edit the php.ini File
Open the php.ini file in a text editor.
You can use a command-line editor like nano or vim or edit it via an FTP client.
Find and update the following settings:
upload_max_filesize = 64M
post_max_size = 128M
memory_limit = 256M
Adjust the values according to your needs.
After changing php.ini, restart your web server to apply the new settings.
Use the following commands:
sudo service apache2 restart # For Apache
sudo service nginx restart # For Nginx
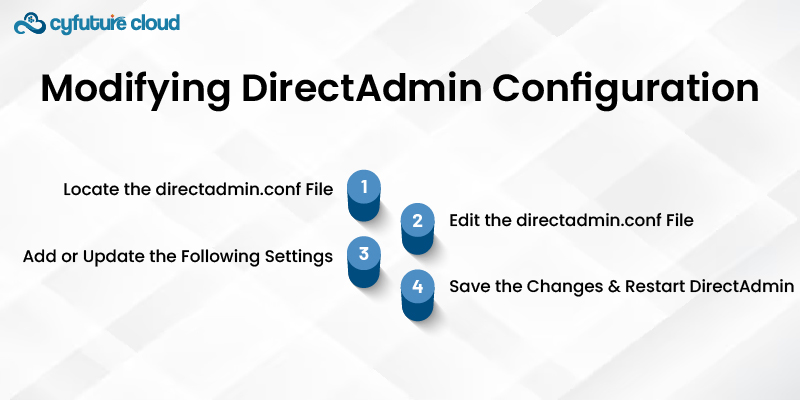
In addition to the PHP settings, you must update the DirectAdmin configuration to allow larger file uploads.
1. Locate the directadmin.conf File
The directadmin.conf file is usually in the /usr/local/directadmin/conf/ directory.
2. Edit the directadmin.conf File
Open the directadmin.conf file in a text editor.
3. Add or Update the Following Settings
maxfilesize=64
It specifies the maximum file size that can be uploaded through the DirectAdmin File Manager.
4. Save the Changes and Restart DirectAdmin
After updating the directadmin.conf file, save the changes and restart DirectAdmin to apply the new settings:
sudo service directadmin restart
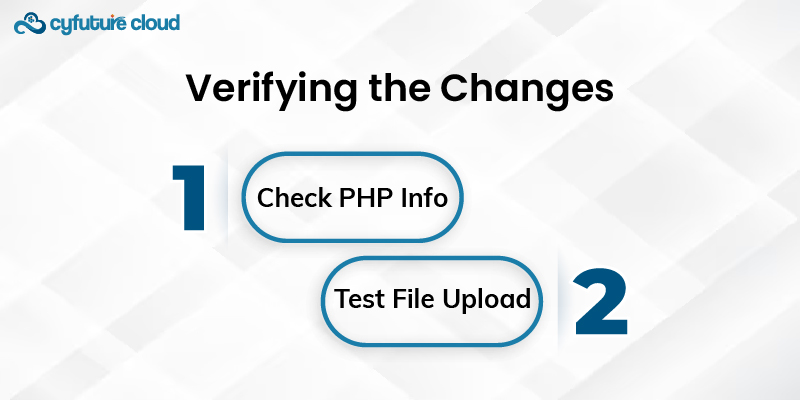
After making the necessary changes, you should verify that the new upload size limits are in effect.
Create a PHP file (e.g., info.php) with the following content:
Upload this file to your web server and access it through your web browser
Look for the:
upload_max_filesize
post_max_size,
memory_limit settings
Ensure they reflect the new values.
Use the DirectAdmin File Manager to upload a file close to the new upload size limit. Ensure that the upload completes successfully without any errors.
If you encounter issues after increasing the upload size, consider following troubleshooting steps:
Review the web server and PHP error logs for any clues about what might be causing the problem.
Common log locations include
/var/log/apache2/error.log for Apache
/var/log/nginx/error.log for Nginx.
Double-check that the php.ini and directadmin.conf files were edited correctly, and there are no typos.
Extensive file uploads can take longer to complete
Ensure that the max_execution_time and max_input_time are set to adequately high values. It should be able accommodate large uploads:
To increase the upload size for DirectAdmin File Manager, one has to make changes to the PHP and DirectAdmin files. This way, after expanding the upload_max_filesize, post_max_size, and memory_limit in php, ini and the maxfilesize setting in DirectAdmin. In conf, you can be sure that your DirectAdmin File Manager can process big files for uploading. It is always advisable to restart the web server and the DirectAdmin after making configuration changes to ensure that the changes have taken effect. If issues arise, consult the server logs and adjust related timeout settings.

Let’s talk about the future, and make it happen!
By continuing to use and navigate this website, you are agreeing to the use of cookies.
Find out more


