 Server
Colocation
Server
Colocation
 CDN
Network
CDN
Network
 Linux Cloud
Hosting
VMware Public
Cloud
Multi-Cloud
Hosting
Cloud
Server Hosting
Linux Cloud
Hosting
VMware Public
Cloud
Multi-Cloud
Hosting
Cloud
Server Hosting
 Kubernetes
 API Gateway
In today’s modern world, computers have become central to almost everything we do, from safeguarding our family photos to storing crucial work documents.
You've probably come across services like Dropbox or Google Drive, where you can stow away your digital possessions online to ensure their safety. However, certain tech-savvy individuals choose to carve out their unique presence on the internet to safeguard their data.
This knowledge base will explain how to build your own cloud server in a few simple steps.
Let’s get started!
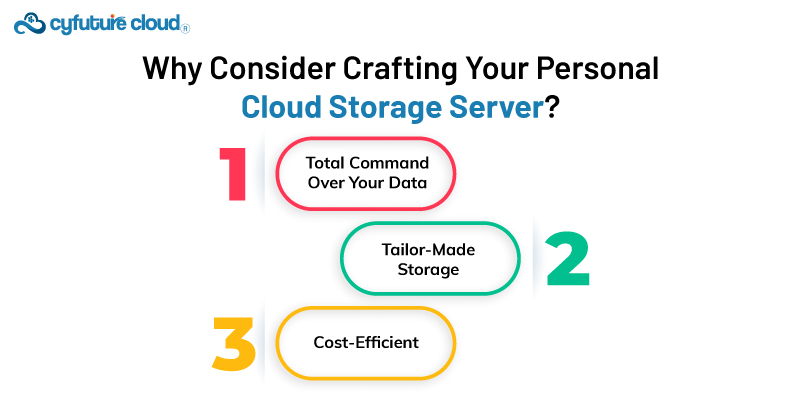
Before we dive into the technical aspects, let's delve into the benefits of constructing your cloud storage server:
Total Command Over Your Data: Think of it as having your private safe for all your digital treasures. When you take the reins and build your cloud server, you're in charge. No need to rely on external services, ensuring your data enjoys maximum privacy and security.
Tailor-Made Storage: It's like creating your perfect pizza with all your favorite toppings. You decide how much space it has, how it's safeguarded, and even the cool features it can offer. Your cloud server is uniquely yours.
Cost-Efficient: Imagine it as buying in bulk instead of one item at a time. Establishing your cloud storage can lead to cost savings in the long run, particularly if you need to store a substantial volume of data.
Now, let's break down the steps for creating your cloud storage server.
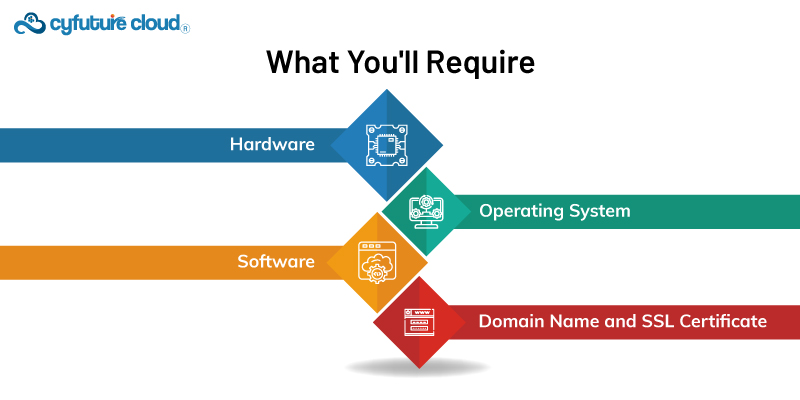
To embark on this journey, you'll require the following:
Hardware: You'll need a dedicated computer or server with ample storage space, sufficient RAM for smooth operation, and a robust and stable internet connection.
Operating System: Linux-based systems like CentOS or Ubuntu Server are like the strong and reliable foundation of a cloud storage building. They're open-source, which means they're free and available to anybody, and they work great for cloud storage. It's similar to selecting solid bricks for a home since they're durable and won't break easily.
Software: NextCloud is a popular open-source cloud storage programme for building own cloud storage server. It may be installed on your server to handle files, calendars, contacts, and other items.
Domain Name and SSL Certificate: Consider getting a domain name and an SSL certificate for safe access.
How to Build Your Own Cloud Server: Step-by-Step Guide
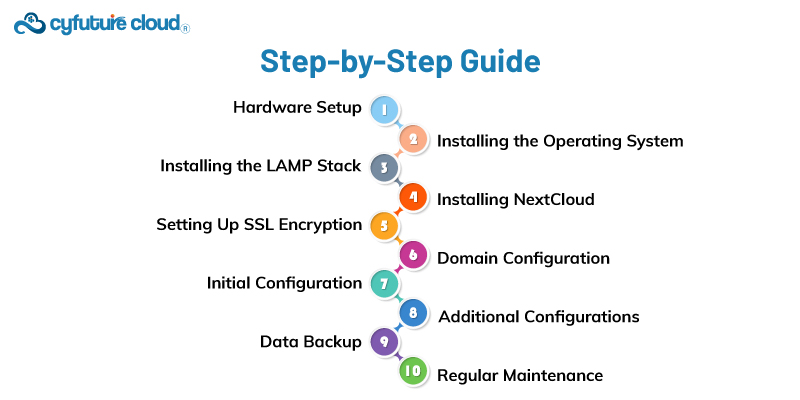
Now, let's dive into the hands-on process of creating your cloud storage server:
To get started, you'll need to select a dedicated computer or server to host your cloud storage. This computer should have ample storage capacity, ideally several terabytes, to accommodate all your data. It's essential that the computer you select is not only powerful enough to manage the workload but also meets the requirements of your chosen Linux version.
Furthermore, ensure that your computer is connected to a robust and reliable internet connection, as this will be how your data is transferred online. Verify that the computer is powered on and ready for the following steps in the process.
Let's now install the server's brain, the operating system. This is analogous to choosing the sort of brain your computer will have. You can typically find step-by-step instructions for this process on the official website of the Linux version you desire. To successfully set up the operating system, meticulously follow these provided steps.
During the installation of the operating system, it's essential to assign your server a static, unchanging IP address. Giving your server a persistent phone number ensures that it is constantly reachable through the internet.
LAMP might sound like a fancy term, but it's just the set of tools your server needs to run web applications like the cloud storage system we're creating. There are helpful online guides for the version of Linux you chose to set it up. These articles will demonstrate how to install and configure these technologies so that your server may function as a cloud storage system.
NextCloud is like the magic software that makes your server work as a cloud storage system. The NextCloud website has full instructions on how to achieve this. In most cases, you'll require some unique instructions to download and install NextCloud on your server. This step also includes creating a special database for NextCloud and setting things up so it works smoothly.
To make sure your data is extra safe when traveling over the internet, think of SSL encryption like an invisibility cloak for your information. Consider purchasing an SSL certificate for your server's web address to gain this security. Let's Encrypt is a fantastic service that provides these certificates for free. They normally give simple instructions on how to utilise their certificates to send your data invisibly.
This step is like telling the internet how to find your server when someone types in its name. You'll normally need to make a few changes to your server's web address settings using the management panel of the firm from which you purchased the web address. This allows users to access your cloud storage system simply putting in the web URL you specified.
You can now access your cloud storage system through your web address. Simply follow the given instructions to set up an admin account and select your preferred storage location, whether it's on the server or elsewhere, depending on your needs.
Want to make your cloud storage system even cooler? You can create accounts for other people, set up extra security by turning on encryption, add two-factor login for extra protection, and connect other apps and services to make your system do more things.
Imagine this step as taking photos of your stuff just in case something happens. Make a strategy to frequently backup your data and store it somewhere else. If something goes wrong, you won't lose your crucial documents.
Consider your server to be an automobile. Regular inspections are a must to ensure your server operates effectively and securely. Keep your server up to date with the latest software, including the operating system and NextCloud, and don't overlook any other applications you've added. Continuously monitor its performance and security to maintain a smoothly functioning and secure cloud storage solution.
That’s it!
Building your own cloud storage server is a satisfying endeavor that gives you more control, flexibility, and privacy over your data. While it may need some technical expertise and ongoing maintenance, the rewards to individuals and companies alike may be substantial. Always emphasize security and maintain frequent backups to keep your data safe and accessible. Best wishes for your cloud storage!

Let’s talk about the future, and make it happen!

 Pricing
Calculator
Pricing
Calculator
 Power
Power
 Utilities
 VMware
Private Cloud
VMware
Private Cloud VMware on
AWS
VMware on
AWS VMware on
Azure
VMware on
Azure Service
Level Agreement
Service
Level Agreement 