 Server
Colocation
 CDN
Network
 Linux Cloud
Hosting
 VMware Public
Cloud
 Multi-Cloud
Hosting
 Cloud
Server Hosting
 Kubernetes
 API Gateway

Do you know how to configure your private cloud system? This tutorial will lead you through each stage of the process, explaining how to install security protocols, choose your gear, make payments, and cover other related topics.
Let’s get started!
Before we get into it, let me explain what is understood as a ‘private cloud. ’ You may access your own personal data center by logging on to the Internet. This is not the case with public cloud service providers, where the private cloud is totally under your control and the service is managed by big organizations. This indicates that your data is sent in a more private and secure manner.
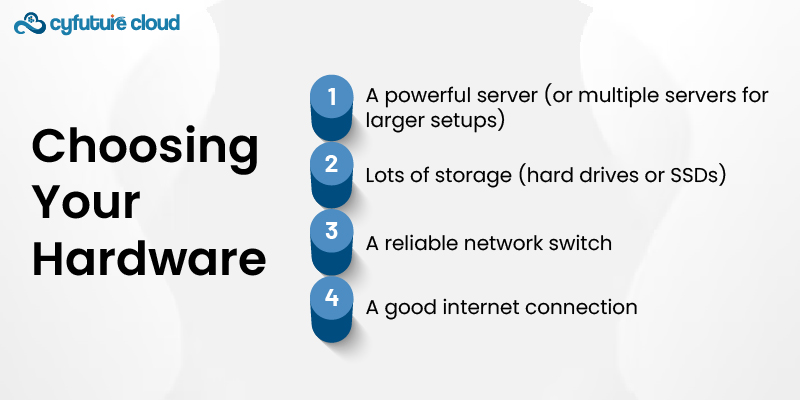
The first step in building your private cloud is picking the right hardware. You'll need:
- A powerful server (or multi servers for larger setups)
- Lots of storage (hard drives or SSDs)
- A reliable network switch
- A good internet connection
Consider your needs for processing power while selecting your server. If all you're doing is storing files, you can choose something simple. However, you'll need a more powerful system if you intend to run several programs.
Now that you have your hardware, it's time to choose your cloud hosting software. There are several great options out there:
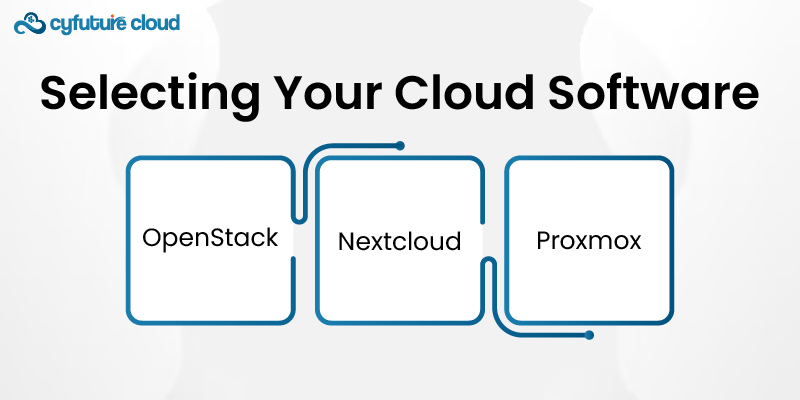
- OpenStack: A popular open-source platform
- Nextcloud: Great for file storage and sharing
- Proxmox: Good for virtualizing servers
Pick the one that best fits your needs. If you're not sure, OpenStack is a solid all-around choice.
It's time to install your program when you've selected it. Depending on what you chose, the precise stages will differ, but here's a rough rundown:
1. Download the installation files
2. Create a bootable USB drive with the installer
3. Boot your server from the USB drive
4. Follow the on-screen instructions to install the software
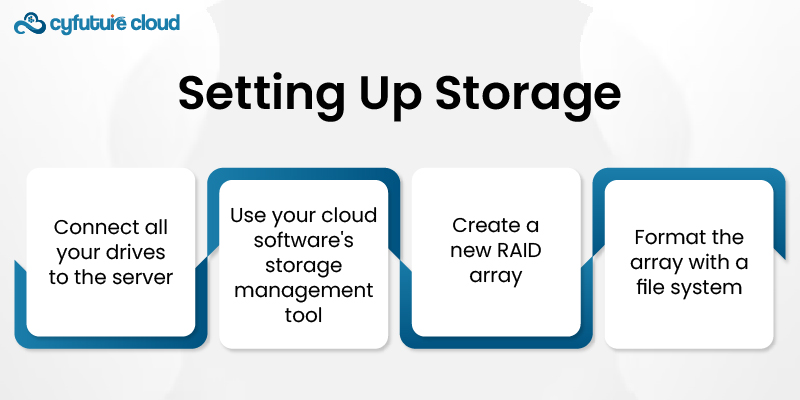
Your cloud needs a place to store all your data. That's when the SSDs or hard disks come in handy. A RAID array should be configured for improved speed and data security. For most configurations, RAID 5 or 6 are suitable options.
Here's how to set up a basic RAID array:
1. Connect all your drives to the server
2. Use your cloud storage management tool
3. Create a new RAID array
4. Format the array with a file system (like ext4)
Now it's time to get your cloud connected to the internet. You'll need to:
1. Set up a static IP address for your server
2. Configure your router to forward the necessary ports
3. Set up a domain name (optional, but recommended)
If you're not comfortable messing with network settings, it might be worth calling in an IT pro for this part.
Your cloud needs users! Set up accounts for everyone who will be using the system. In addition, make sure to use strong passwords.
Security is super important for your private cloud. Here are some key steps:
1. Keep your software up to date
2. Use a firewall to control access
3. Enable encryption for data at rest and in transit
4. Regularly back up your data
5. Monitor your system for unusual activity
Don't skimp on security. It's better to be safe than sorry when it comes to your data!
1. Choose the service you want to set up
2. Use your cloud software's management interface to create a new instance or container
3. Install and configure the necessary software
4. Set up user access and permissions
Start with something simple, like file storage. Once you're comfortable, you can move on to more complex services.
Before you start relying on your new cloud, make sure to test it thoroughly. Try accessing it from different devices and locations. Upload and download files, run applications, and generally put them through their paces.
Congratulations! Your private cloud is up and running. But your work isn't done yet. To keep your cloud running smoothly:
1. Regularly check for and install software updates
2. Monitor system performance and storage usage
3. Perform regular backups
4. Stay informed about security threats
That’s It!
Set up a private cloud may take several hours, but the effort is well worth it. We hope this information is useful to you. For additional information, please contact the Cyfuture Cloud team.

Let’s talk about the future, and make it happen!
By continuing to use and navigate this website, you are agreeing to the use of cookies.
Find out more


