 Server
Colocation
Server
Colocation
 CDN
Network
CDN
Network
 Linux Cloud
Hosting
VMware Public
Cloud
Multi-Cloud
Hosting
Cloud
Server Hosting
Linux Cloud
Hosting
VMware Public
Cloud
Multi-Cloud
Hosting
Cloud
Server Hosting
 Kubernetes
 API Gateway
Are you experiencing slow loading times or incorrect website resolutions while browsing? These issues often arise due to outdated or corrupted DNS cache. When your browser caches DNS records, it speeds up future visits to websites. However, if a site’s IP address changes or if there is an error in the cache, you might encounter connectivity problems.
This guide will help you clear and debug DNS cache using chrome.//net-internals tool and related commands like chrome://net-internals/#dns or chrome //net-internals/#dns clear. Whether you are a web developer, a cloud administrator, or someone managing hosting services, knowing how to manage DNS cache is crucial.
By following these simple steps, you can resolve browsing issues and ensure smooth website access. Moreover, debugging DNS cache helps diagnose network problems and optimize performance, especially in cloud environments where seamless connectivity is essential.
DNS cache is a temporary database stored by your browser and operating system. It contains records of recently visited websites, mapping domain names to IP addresses. This process speeds up access to websites by eliminating the need for repeated DNS lookups.
However, problems arise when:
Websites change their IP addresses.
DNS records become outdated or corrupted.
You move to a different network but retain old DNS entries.
There is a security risk, such as cache poisoning.
In cloud-based applications and cloud hosting services, maintaining an accurate DNS cache is essential to prevent downtime and ensure reliability. Understanding how to clear and debug DNS cache through tools like chrome.//net-internals/#dns or www.chrome //net-internals/dns can help resolve these issues efficiently.
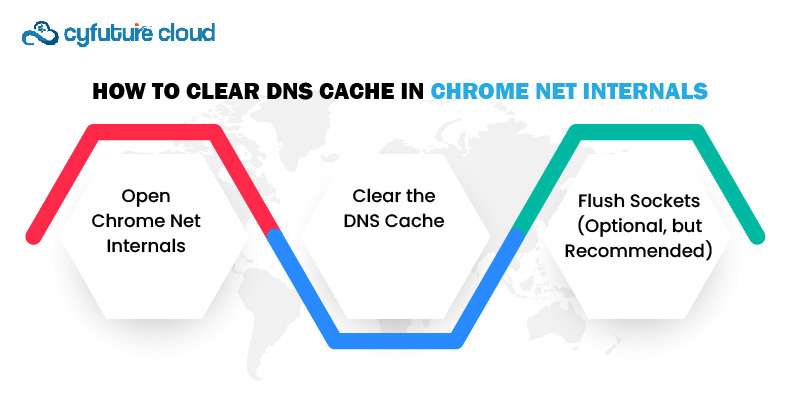
Google Chrome provides a built-in tool called Net Internals that allows you to manage and debug network-related settings, including DNS cache. Follow these steps to clear your DNS cache:
Open Google Chrome.
Type chrome://net-internals/#dns in the address bar and press Enter. You can also open chrome net internals /# dns cache or simply use open chrome net internals/#dns to access the DNS section. Some users may also type chrome net internals /# dns or www.chrome //net-internals/#dns depending on their version of Chrome.
You will see a list of active DNS entries.
Click the “Clear host cache” button to remove all cached DNS records. Alternatively, you can type chrome //net-internals/#dns clear host cache or use chrome net internals dns clear host cache to perform the same action.
This action ensures that the next time you visit a website, Chrome fetches fresh DNS information. You can also use commands like //net-internals/#dns clear host cache or chorme //net-internals/#dns if your browser supports them.
Navigate to chrome://net-internals/#sockets.
Click “Flush socket pools” to ensure no lingering connections are using outdated DNS information.
After clearing the DNS cache using chrome net internals clear or clear net internals, restart your browser for the changes to take effect. If you are using a cloud server or managing a hosting environment, you may also need to flush the system-wide DNS cache on your operating system.
In addition to the above, you can try chrome internals /# dns clear or chrome //net-internals/#dns clear to manually remove entries when working with multiple tabs or testing DNS resolution in development environments. Using chrome.//net-internals/dns or chrome.//net-internals ensures you are working with Chrome’s latest diagnostic tools.

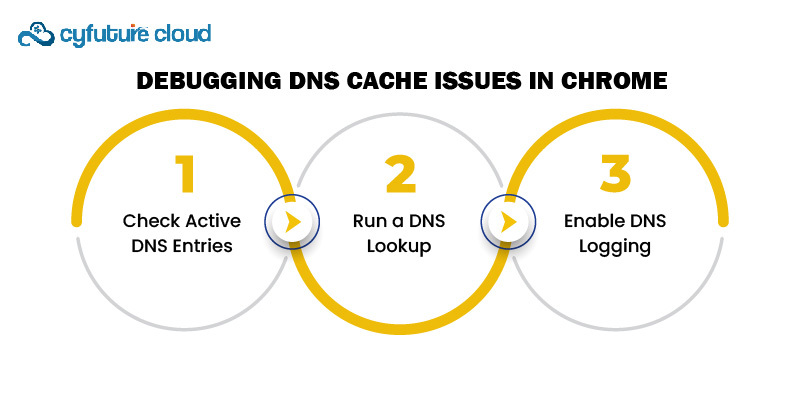
If clearing the DNS cache does not resolve your issue, debugging it can help identify the root cause. Follow these steps to debug DNS cache in Chrome:
Go to chrome//net-internals/#dns.
Under Host resolver cache, you will see a list of cached domain names and their associated IP addresses.
If an IP address does not match the expected server, the cache may be outdated.
Use the nslookup or dig command in your operating system to compare DNS resolution:
nslookup example.com
or
dig example.com
If the IP address differs from the one in Chrome’s DNS cache (as shown in chrome //net-internals/#dns), clearing the cache using chrome net internals clear or chrome //net-internals/#dns clear host cache should resolve the issue.
Chrome Net Internals allows you to capture DNS activity.
Navigate to chrome://net-internals/#capture.
Click “Start” and browse the affected website.
Stop the capture and analyze the logs for DNS-related errors. You can use chrome net internals /# dns or chrome //net-internals/#dns to check the specific host resolver cache logs.
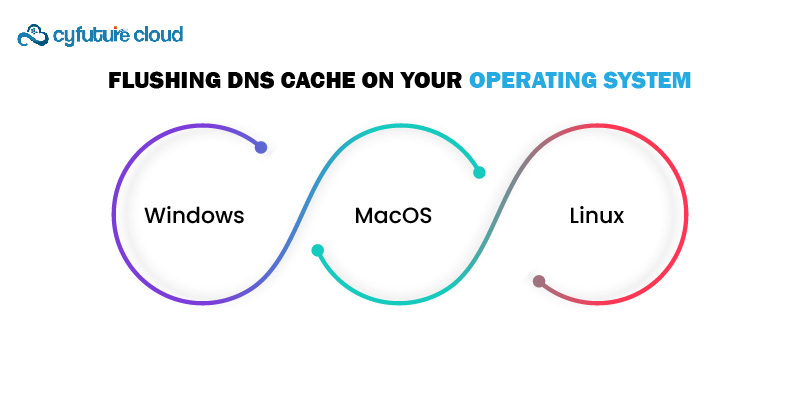
In some cases, clearing Chrome’s DNS cache alone may not resolve the issue. You may need to flush the system-wide DNS cache:
Windows:
ipconfig /flushdns
MacOS:
sudo dscacheutil -flushcache; sudo killall -HUP mDNSResponder
Linux (if using systemd-resolved):
sudo systemctl restart systemd-resolved
If you are running cloud-based applications hosting or managing a hosting server, restarting the DNS service ensures that new DNS records are fetched immediately.
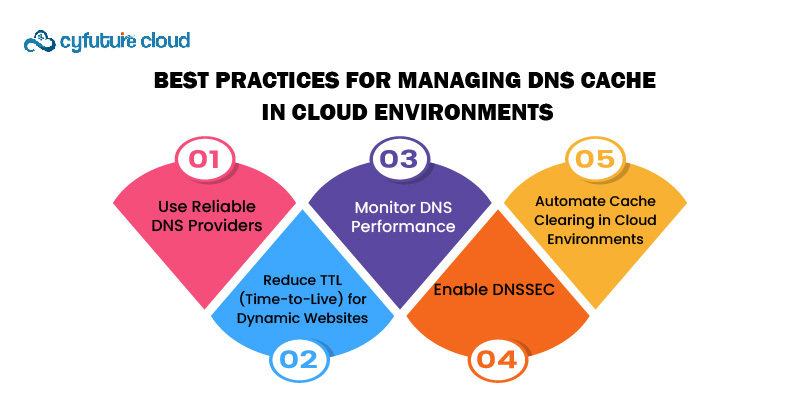
For those managing cloud services and hosting platforms, here are some best practices to ensure smooth DNS resolution:
Use Reliable DNS Providers – Opt for DNS services like Google DNS (8.8.8.8) or Cloudflare (1.1.1.1) for faster and more secure lookups.
Reduce TTL (Time-to-Live) for Dynamic Websites – Lower TTL values help refresh DNS records quickly.
Monitor DNS Performance – Regularly check for issues using tools like nslookup, dig, or chrome //net-internals/#dns.
Enable DNSSEC – This enhances security by preventing cache poisoning attacks.
Automate Cache Clearing in Cloud Environments – If you manage cloud-based applications, consider scripts or services that periodically clear DNS cache using chrome net internals clear or chrome net internals dns clear host cache to prevent outdated records from affecting performance.
Clearing and debugging DNS cache in chrome.//net-internals and related tools like chrome://net-internals/#dns or //net-internals/#dns clear host cache is a simple yet powerful way to resolve connectivity issues.
Whether you are troubleshooting slow website loading, fixing DNS resolution errors, or managing cloud-based hosting environments, these steps ensure smooth browsing and optimal performance.
By understanding how DNS cache works and following best practices, you can maintain a seamless and secure online experience. If issues persist, consider checking your network settings or switching to a more reliable DNS provider.

Let’s talk about the future, and make it happen!

 Pricing
Calculator
Pricing
Calculator
 Power
Power
 Utilities
 VMware
Private Cloud
VMware
Private Cloud VMware on
AWS
VMware on
AWS VMware on
Azure
VMware on
Azure Service
Level Agreement
Service
Level Agreement 