 Server
Colocation
 CDN
Network
 Linux Cloud
Hosting
 VMware Public
Cloud
 Multi-Cloud
Hosting
 Cloud
Server Hosting
 Kubernetes
 API Gateway


Network-Attached Storage (NAS) devices have evolved significantly over the years. Originally designed for data storage and backup, modern NAS devices now offer a plethora of features. It also includes the ability to run various applications and services. One intriguing possibility is using a NAS to host a game server.
NAS devices are specialized file storage systems connected to a network. It provides centralized data access for multiple users and devices. These devices typically run on lightweight operating systems and come with varying levels of hardware capabilities, from basic home units to high-performance enterprise models.

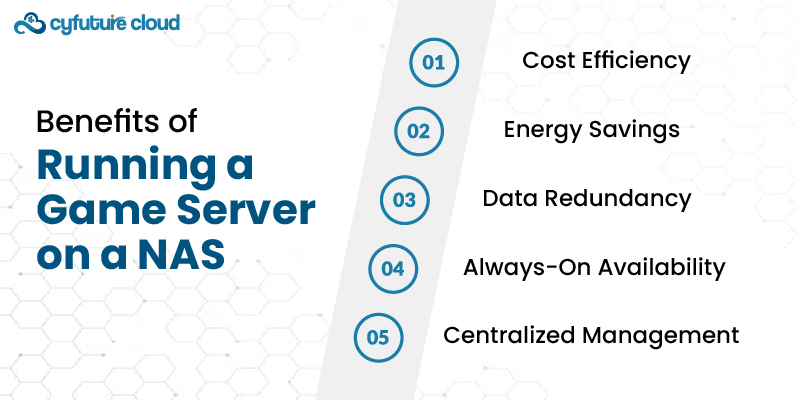
Using an existing NAS device to host a game server can be more cost-effective than purchasing a dedicated server.
2. Energy Savings
NAS devices are generally more energy-efficient than full-fledged servers. Thus, it reduces power consumption.
3. Centralized Management
Hosting a game server on a NAS allows you to manage your data and server from a single server device. It simplifies administration.
Many NAS devices support RAID configurations. It provides data redundancy and increased reliability.
5. Always-On Availability
NAS devices are designed for continuous operation. Thus ensuring your game server is always available.

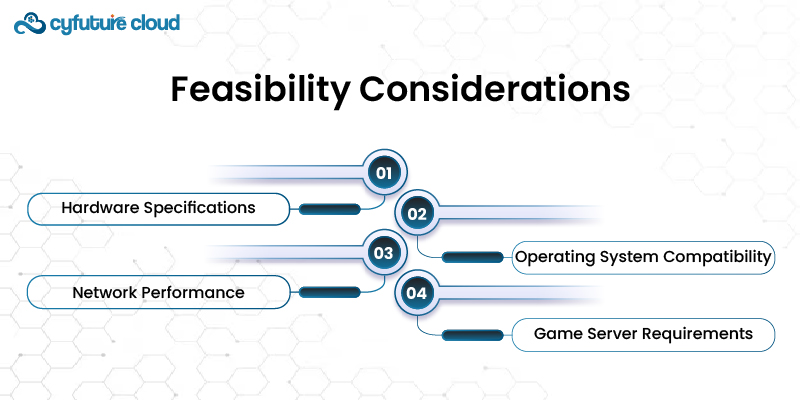
Before proceeding, evaluating whether your NAS device can run a game server is important. Consider the following factors:
Check your NAS’s CPU, RAM, and storage capabilities. Game servers can be resource-intensive. Ensure your NAS has sufficient processing power and memory.
2. Operating System Compatibility
Verify that your NAS’s operating system supports the game server software you intend to use. Popular NAS operating systems include:
- Synology DSM
- QNAP QTS
- TrueNAS.
Ensure your network can handle the additional load. A fast and stable internet connection is vital for a smooth gaming experience.
Different games have varying server requirements. Check the specific requirements for the game you want to host.

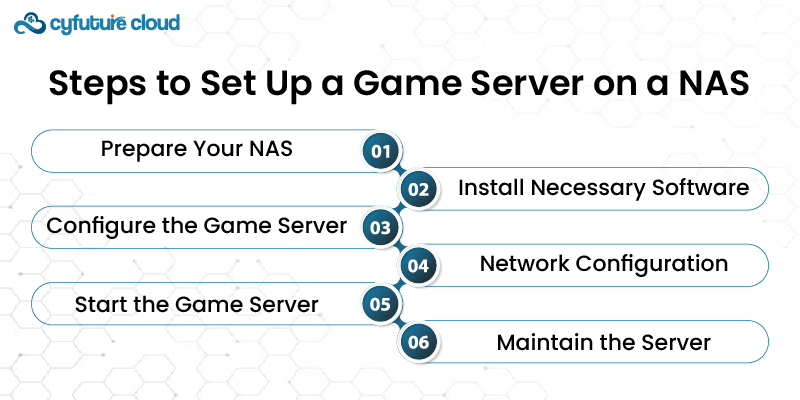
1. Update Firmware
Confirm your NAS firmware is up to date to take advantage of the latest features and security improvements.
2. Backup Data
Before making significant changes, back up your data to prevent potential loss.
3. Create a Separate Volume
Create a separate volume on your NAS for the game server to isolate it from other data if possible.
Many modern NAS devices support Docker. It is a platform that allows you to run application in isolated containers. It can simplify the process of setting up a game server.
2. Install Game Server Software
Depending on your NAS’s OS, you can install game server software:
- Directly from the app store
- Via the command line.
You may need to access your NAS’s terminal or SSH into the device to configure the game server. Instructions for this will vary based on your NAS model and operating system.
2. Download and Install Game Server Files
Follow the specific instructions for downloading and installing the game server files. This might involve downloading from the game’s official website or using a package manager.
3. Edit Configuration Files
Customize the server settings by editing configuration files. This includes:
- Setting server names
- Game modes
- Player limits
1. Port Forwarding
Configure your router to deliver the required ports to your NAS. This step allows external players to connect to your game server.
2. Static IP Address
Assign a static IP address to your NAS to ensure the port forwarding rules remain consistent.
3. Firewall Settings
Adjust your NAS’s firewall settings to allow traffic on the game server ports.
Start the game server using the appropriate command or the NAS’s interface if it supports application management.
2. Monitor Performance
Keep an eye on the server’s performance, including:
- CPU
- Memory
- Network usage
Make adjustments as necessary to ensure smooth operation.
Keep the game server software up to date to benefit from the latest features and security patches.
2. Backup Server Data
Regularly back up the game server data to prevent loss of progress and configurations.
3. Monitor for Issues
Continuously monitor the server for any issues, such as crashes or performance drops, and address them promptly.
Running a game server on a NAS is an option for many people. Following the steps in this guide will allow you to host a game server successfully. It will ensure a consistent and fun gaming experience. Whether you want to run a Minecraft world for friends or a dedicated server for a more demanding game, using your NAS can be a useful and pleasant experience.

Let’s talk about the future, and make it happen!
By continuing to use and navigate this website, you are agreeing to the use of cookies.
Find out more


