 Server
Colocation
 CDN
Network
 Linux Cloud
Hosting
 VMware Public
Cloud
 Multi-Cloud
Hosting
 Cloud
Server Hosting
 Kubernetes
 API Gateway

Cloud hosting covers all aspects of Internet management and its use by businesses and other people. This knowledge base guide will demonstrate how to set up cloud hosting using simple procedures.
Let's dive in!
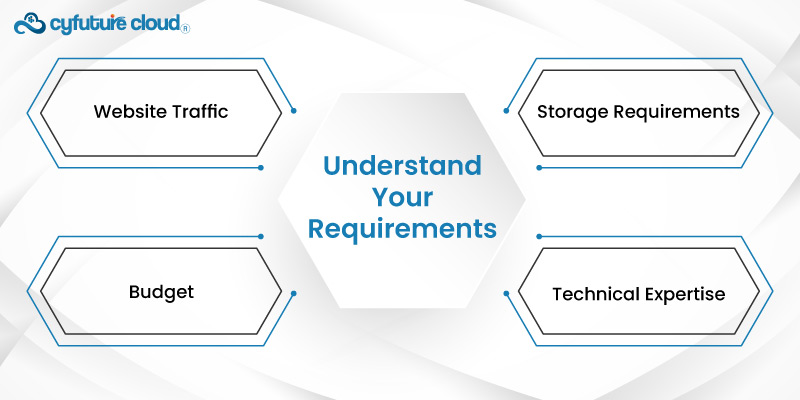
First, identify your needs:
- Website Traffic:
- Storage Requirements
- Budget
- Technical Expertise
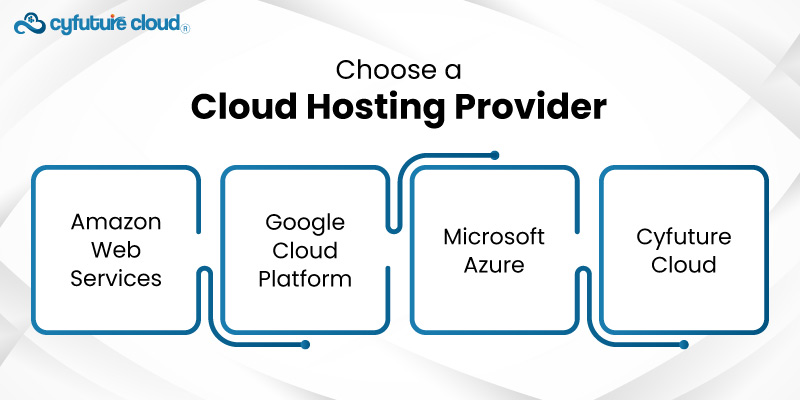
Here there are a number of cloud web hosting providers that are different from each other regarding the functions and the cost. Some popular ones include:
- Amazon Web Services (AWS) delivers a broad range of services and solutions with excellent scalability.
- Google Cloud Platform (GCP): This can also be attributed to the company’s machine learning strengths or big data approaches.
- Microsoft Azure: This is because it operates well with other Microsoft products, making it a suitable addition to an existing Microsoft-based environment.
- Cyfuture Cloud: Due to simplicity and cost this soil is ideal for use by enterprise developers and developers.
While exploring potential providers, depend on your requirements and identify their relative significance, which may include cost, service, support, etc.
Once you have selected a provider, create an account. This process generally involves:
- Providing your personal or business information.
- Setting up payment methods.
- Verifying your identity, which may include email verification and providing a phone number.
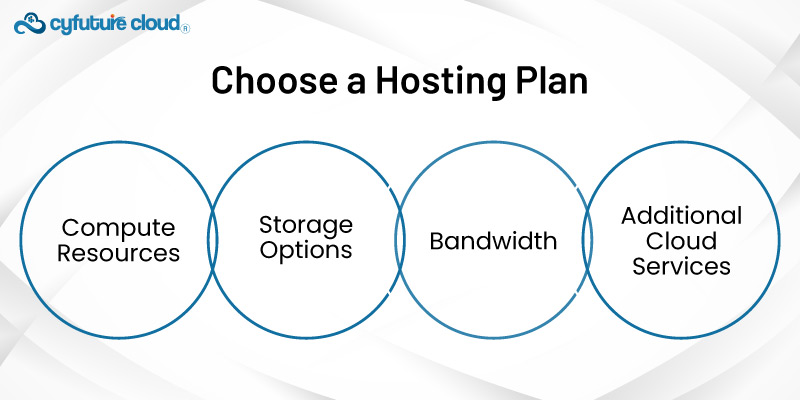
Cloud hosting providers offer various plans tailored to different needs. These plans typically vary in:
- Compute Resources: Number of CPUs and amount of RAM.
- Storage Options: SSD vs. HDD, storage capacity.
- Bandwidth: Data transfer limits.
- Additional Cloud Services: Managed cloud services, security features, backups, and more.
Setting up your cloud server involves several key steps:
1. Pick an Operating System:
- Most cloud hosting providers offer a range of OS options, including Ubuntu, CentOS, Debian, and Windows Server.
- Choose the OS that best suits your application requirements.
2. Configure Server Specifications:
- Define the server size (CPU, RAM) based on the selected plan.
- Choose storage type and capacity.
3. Assign a Static IP Address:
- Assigning a static IP to your server ensures consistent access and is crucial for domains and SSL certificates.
4. Set Up SSH Keys:
- Set up SSH keys for secure access to your server. This method is more secure than password-based logins.
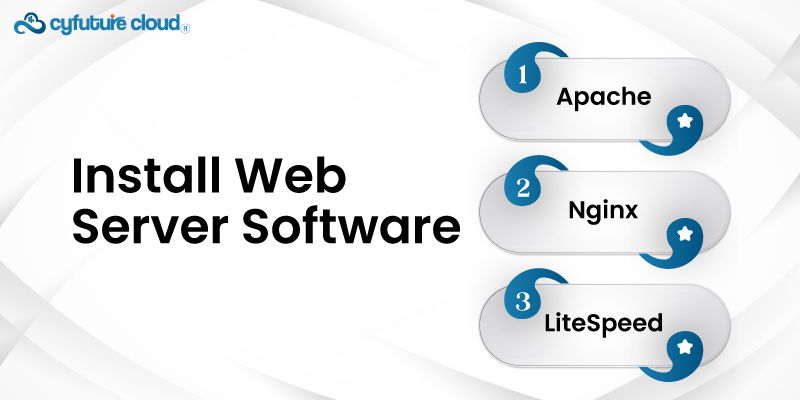
To host your website, you need to install web server software. Common options include:
- Apache: Highly customizable and widely used.
- Nginx: Known for its performance and ability to handle high traffic.
- LiteSpeed: Offers improved speed and performance over Apache.
You can install these using package managers (like apt for Ubuntu or yum for CentOS) or through provider-specific installation tools.
After installing the web server software, you need to configure your server:
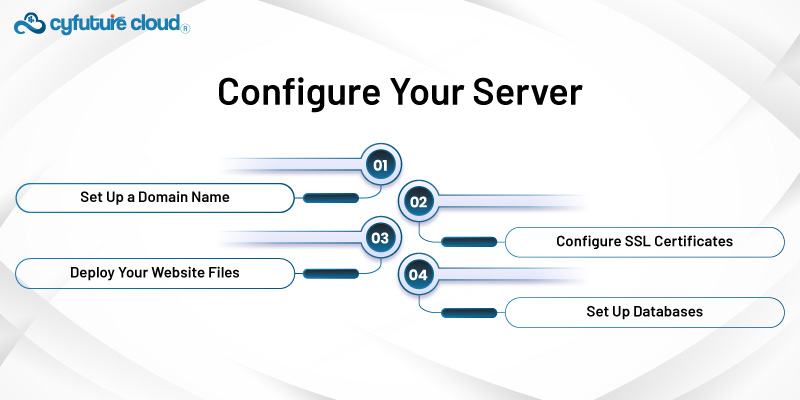
1. Set Up a Domain Name:
- Register a domain name if you haven’t already. Use a domain registrar like GoDaddy or Namecheap.
- Point your domain to your server’s static IP address by updating the DNS records.
2. Configure SSL Certificates:
- Secure your website with SSL. You can use Let’s Encrypt for free SSL certificates or purchase one from a provider.
3. Deploy Your Website Files:
- Upload your website files to the server. You can do this using FTP/SFTP clients like FileZilla or command-line tools.
4. Set Up Databases:
- If your website requires a database, install and configure a database server like MySQL, PostgreSQL, or MongoDB.
Optimization and security are critical for performance and protection against threats:
- Install Firewall: To abate the traffic on any system some tools such as ufw (Uncomplicated Firewall) are used for Linux systems.
- Set Up Automatic Updates: Updates can patch known vulnerabilities, so make sure your server and the software are set to update automatically.
- Optimize Performance: Choose a good caching software (like Varnish or Redis) and tune to web server configurations.
Now, continuous monitoring and maintenance are essential:
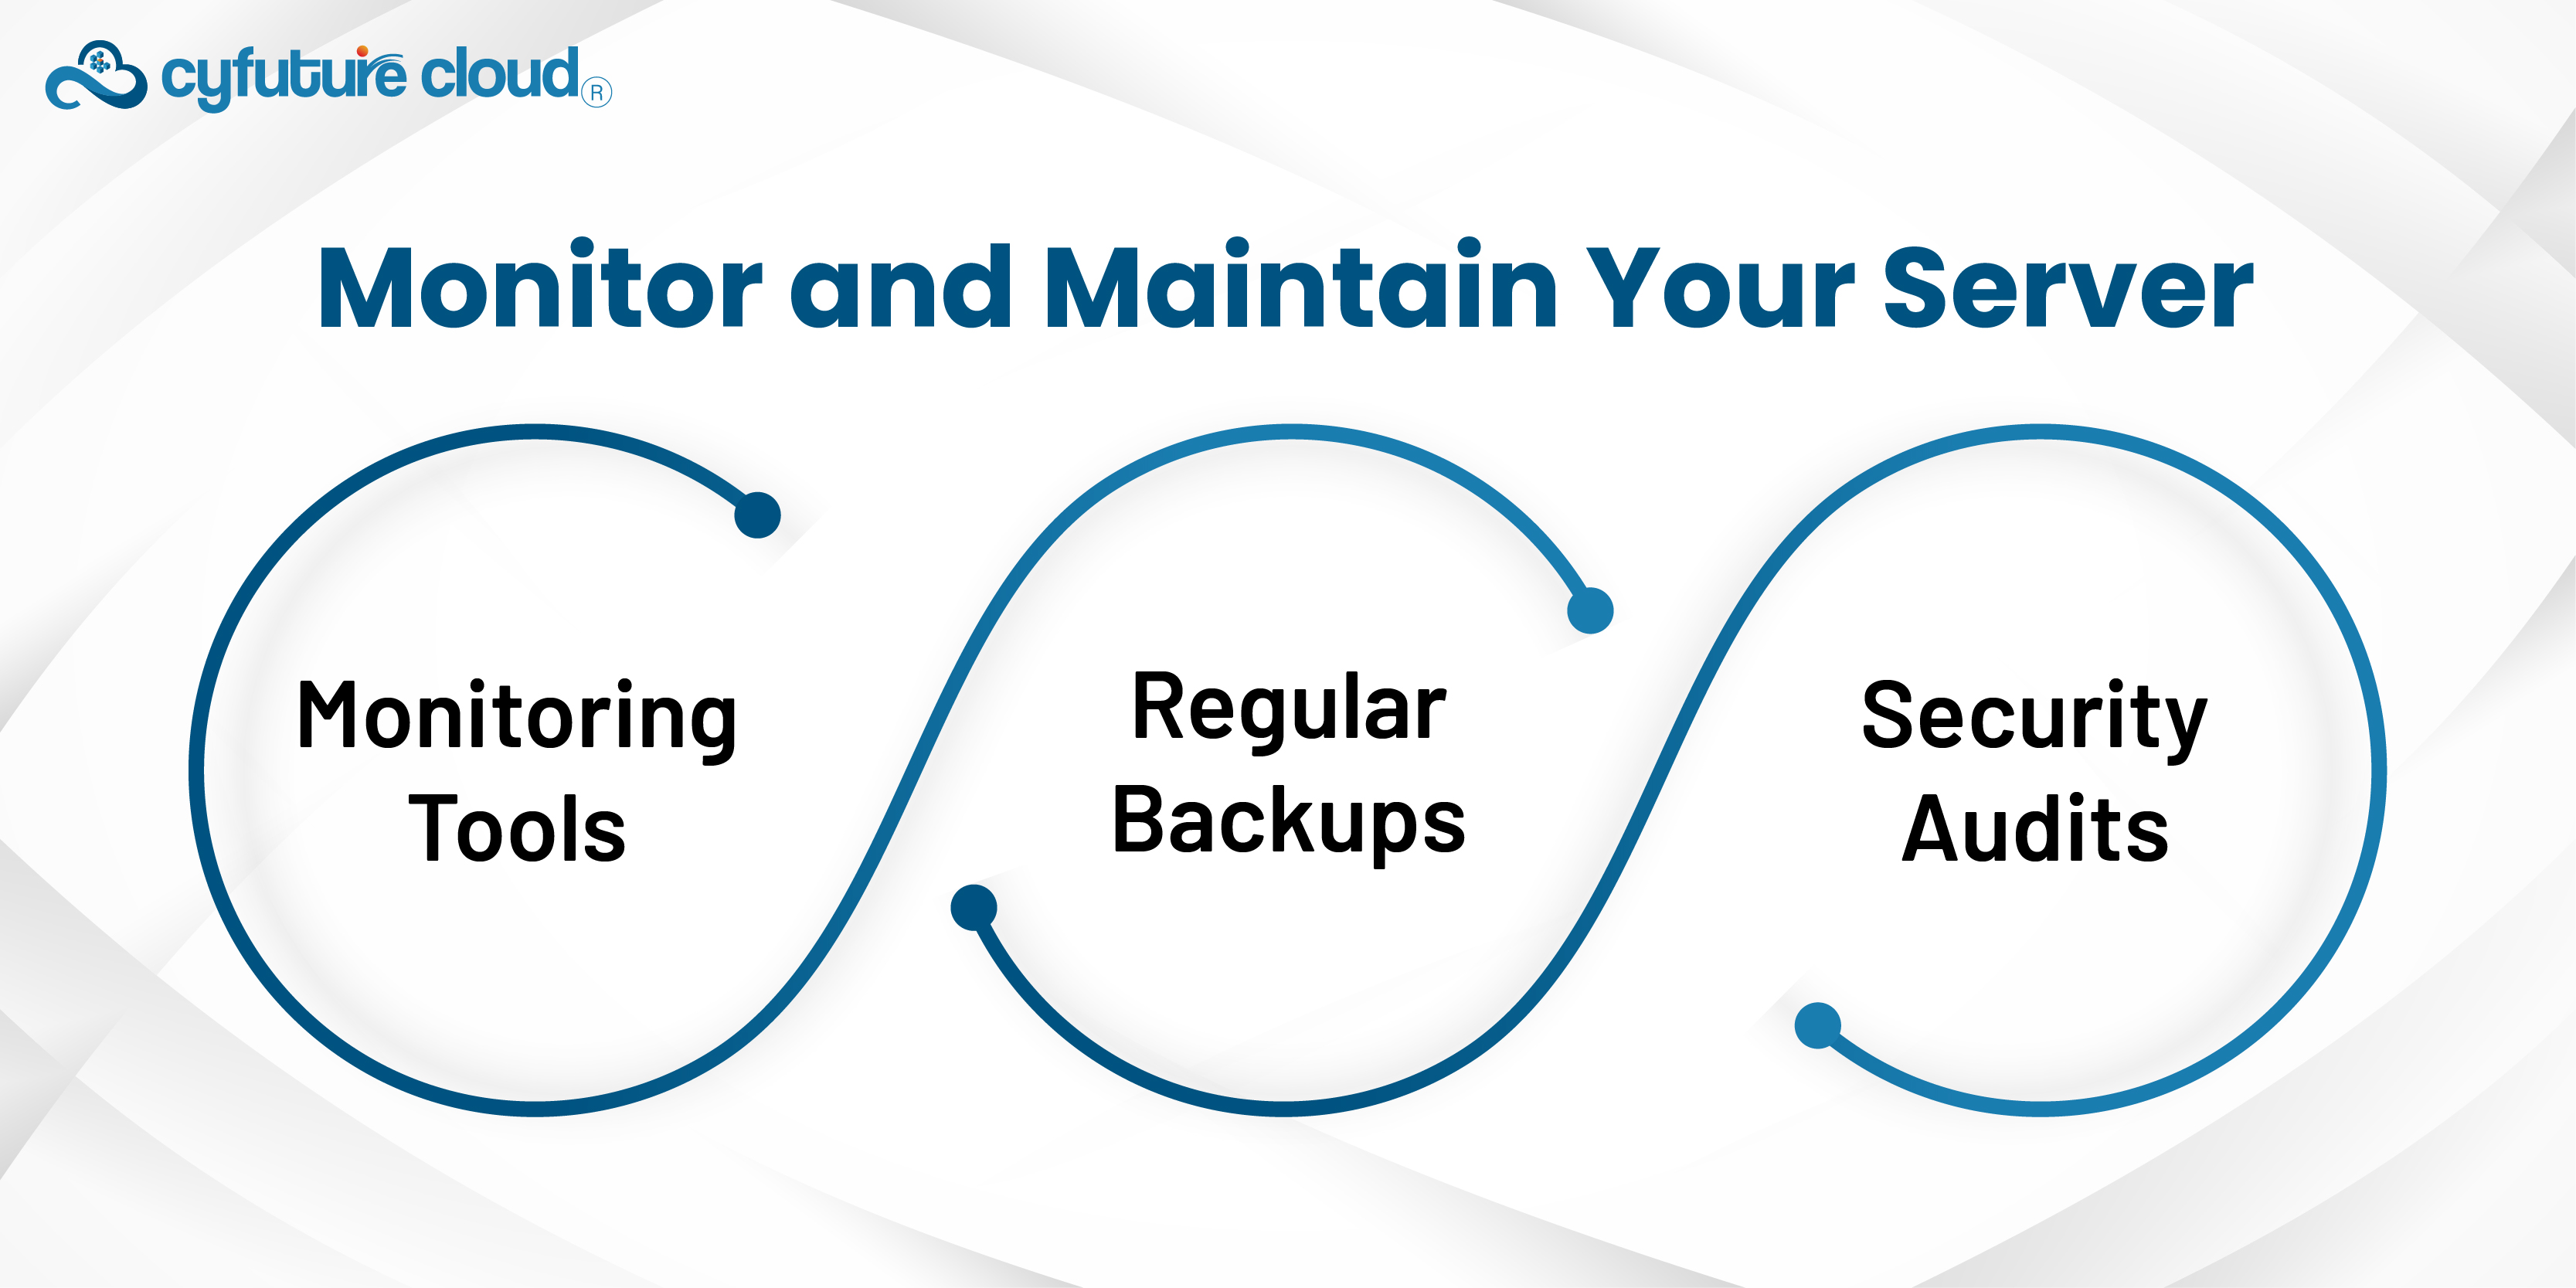
- Monitoring Tools
- Regular Backups
- Security Audits
Therefore, to have cloud hosting, you need to choose a provider and the right plan, purchase the hardware and get it configured and secured on the cloud. Although the utilization of this process may be somewhat confusing, the steps incorporated into the process make it easy best to undertake. In this case, there are lots of gains, including scalability, flexibility, and improved performance. All these justify the use of cloud hosting for your online business.
Whether you are an entrepreneur, a developing startup company, or simply a passionate blogger, this guide will help you establish a viable and secure cloud hosting infrastructure. For more information, get in touch with our cloud experts.

Let’s talk about the future, and make it happen!
By continuing to use and navigate this website, you are agreeing to the use of cookies.
Find out more


