 Server
Colocation
 CDN
Network
 Linux Cloud
Hosting
 VMware Public
Cloud
 Multi-Cloud
Hosting
 Cloud
Server Hosting
 Kubernetes
 API Gateway


CCTV footage and other important data that needs to be kept safe have become very easy due to cloud storage and this has become essential in today’s world. Recording on CCTV and then uploading the data in the cloud has the following benefits; High security, ease of accessing data, and, the least data loss component.
In this guide, we will explain how to set auto-sync on your CCTV to the cloud. Let’s get started!

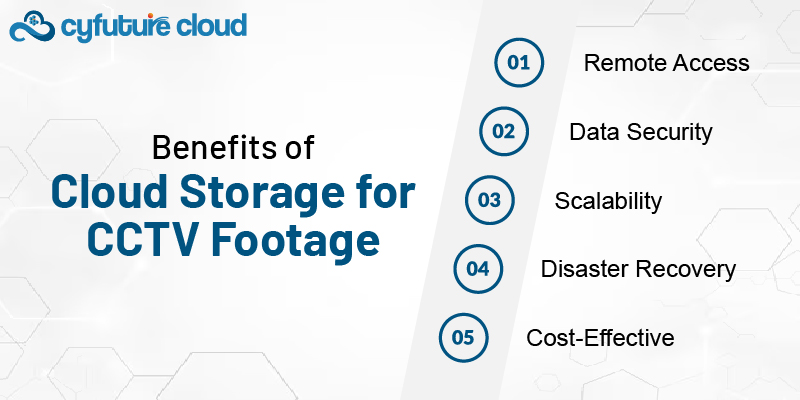
Remote Access: View your photos from anywhere with an internet connection.
Data Security: Cloud storage vendors often have strong safety features in the vicinity.
Scalability: Easily grow storage capacity as your desires develop.
Disaster Recovery: Footage is safe even if the on-website online system is broken or stolen.
Cost-Effective: Potentially reduce hardware fees for local garages.

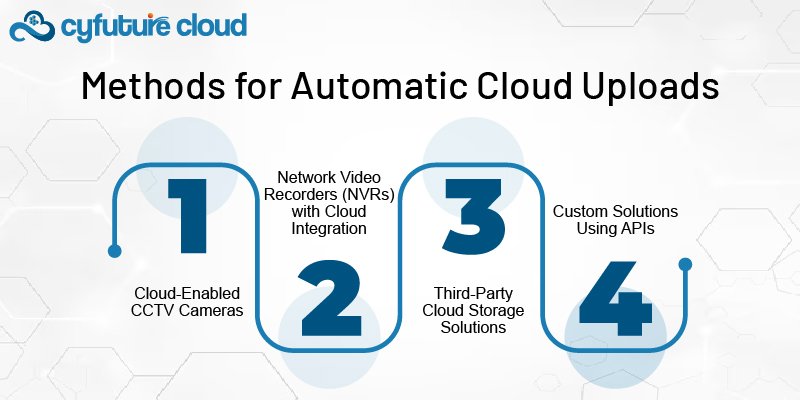
There are several ways to set up automatic cloud uploads for your CCTV system:
Many modern CCTV cameras come with built-in cloud connectivity. These cameras can add footage without delay to the cloud without extra hardware.
Steps:
1. Purchase cloud-enabled CCTV cameras.
2. Connect the cameras to your network.
3.Set up an account with the manufacturer's cloud service.
4.Configure the cameras to automatically upload footage.
Some NVRs offer built-in cloud storage options or integrations with popular cloud hosting services.
Steps:
1.Ensure your NVR supports cloud integration.
2.Connect the NVR to your network.
3.Set up an account with the supported cloud service.
4.Configure the NVR to automatically sync recordings to the cloud.
For systems without built-in cloud capabilities, you can use third-party solutions to bridge the gap.
Steps:
1. Choose a compatible third-party cloud storage solution (e.g., Dropbox, Google Drive, Amazon S3).
2. Install the necessary software on your NVR or a connected computer.
3. Configure the software to monitor your CCTV footage directory.
4. Set up automatic syncing to your chosen cloud service.
For more advanced users, many cloud storage providers offer APIs that allow for custom integration.
Steps:
1. Choose a cloud storage provider with a suitable API.
2. Develop or commission custom software to interact with your CCTV system and the cloud API.
3. Set up automated scripts to regularly upload new footage.

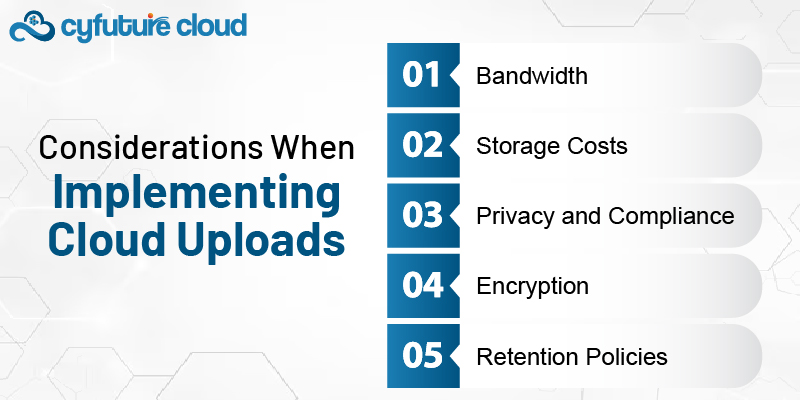
Bandwidth: Ensure your net connection can handle the added quantity.
Storage Costs: Be privy to the continuing costs related to cloud garages.
Privacy and Compliance: Check neighborhood guidelines regarding cloud garage surveillance footage.
Encryption: Use robust encryption for records in transit and at relaxation.
Retention Policies: Set up appropriate retention and deletion rules on your photos.
Use Secure Connections: Always use HTTPS or other encrypted protocols for uploads.
Enable Two-Factor Authentication: Add a further layer of security to your cloud debts.
Regular Testing: Periodically verify that uploads are taking place successfully.
Backup Planning: Consider a secondary backup solution for important photos.
Monitor Usage: Keep a watch for your garage usage to avoid surprising prices or strolling out of the area.
Automatically uploading CCTV recordings to the cloud garage can considerably enhance the security and accessibility of your surveillance machine. By selecting the proper approach to your setup and following excellent practices, you could ensure your footage is thoroughly saved and without difficulty accessible while needed. As the era keeps adapting, cloud integration is becoming increasingly more seamless, making it an appealing option for businesses and owners alike.

Let’s talk about the future, and make it happen!
By continuing to use and navigate this website, you are agreeing to the use of cookies.
Find out more


