 Server
Colocation
Server
Colocation
 CDN
Network
CDN
Network
 Linux Cloud
Hosting
VMware Public
Cloud
Multi-Cloud
Hosting
Cloud
Server Hosting
Linux Cloud
Hosting
VMware Public
Cloud
Multi-Cloud
Hosting
Cloud
Server Hosting
 Kubernetes
 API Gateway
In this knowledge base, we will discover how to install an SSL certificate in Webuzo.
Let’s get started!
It's a lightweight management panel that helps you control your dedicated hosting. Especially in cloud hosting setups. It's designed to make your life easier when it comes to tasks like installing web programs, managing databases, and, you guessed it, putting in an SSL certificate.
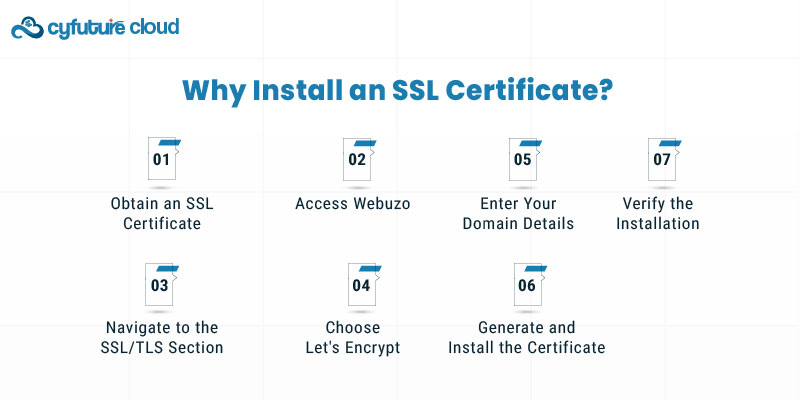
Installing an SSL certificate is crucial for several reasons:
1. It encrypts data transferred between your website and its visitors
2. It builds trust with your users
3. It's great for SEO (Google loves secure sites!)
4. It's required for accepting online payments
Now, let's get down to business!
The first thing you must do is obtain an SSL certificate. Among your choices are:
1. Free certificates
2. Paid certificates
Log in to the Webuzo management panel.
Once you're in Webuzo, look for a section called "SSL/TLS" or something similar. It might be under a broader security category. Click on it to proceed.
In the SSL/TLS section, you should see an option for Let's Encrypt. Click on it to start the certificate installation process.
You will now have to supply the following details:
- Name of domain
- Add www
- Electronic mail address
Before continuing, make sure everything is correct. Typos now might lead to problems later!
Click the "Generate" or "Install" button (the exact wording may vary). Now, Webuzo will speak with Let's Encrypt to confirm that your domain is registered to you and to provide the certificate.
This process usually takes a few minutes. Grab a coffee or do a little dance while you wait – you're almost there!
Once the process is complete, Webuzo should display a success message. To double-check, you can:
1. Visit your website
2. Look for the padlock icon
If you see the padlock, congratulations! Your site is now secure.
Hit a snag? Don't panic! Here are some common issues and how to solve them:
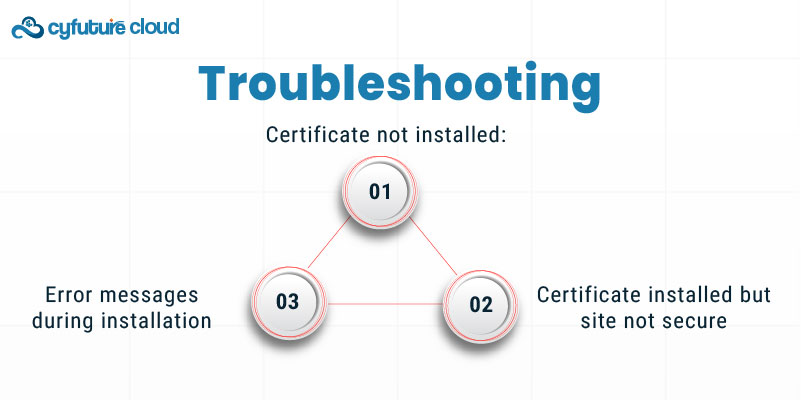
1. Certificate not installed:
- Make sure your domain is pointing to the correct IP address
- Check that your DNS records are up to date
- Ensure no firewalls are blocking the verification process
2. Certificate installed but site not secure:
- Check if your website has mixed content (some resources are still loading over HTTP)
- Use a tool like Why No Padlock to identify specific issues
3. Error messages during installation:
- Take a screenshot of the error
- Check Webuzo's documentation or contact their support
- If you're using cloud hosting, your provider's support team might be able to help
Great job on installing your SSL certificate! But wait, there's a bit more to know:
1. Renewal: A Let's Encrypt certificate has a ninety-day validity period. Fortunately, Webuzo often takes care of renewals on its own. Nevertheless, it's a good idea to often verify the expiration date on your certificate.
2. Monitoring: Configure your SSL certificate to be monitored. If there are any problems or your certificate is due to expire, you can receive complimentary services that can notify you.
3. Updating: Make sure Webuzo is up to date so you can take advantage of the newest security features and SSL certificate compatibility.
Ready to take your SSL game to the next level? Here are some pro tips:
1. HSTS: For even more protection, think about turning on HTTP Strict Transport protection (HSTS). This instructs browsers to always visit your website over HTTPS.
2. Certificate Transparency: Verify whether the Certificate Transparency logs contain your certificate. This aids in the detection of malicious or inadvertently issued certificates for your domain.
3. Optimize for Performance: SSL can slightly impact your site's speed. Use HTTP/2 and optimize your content to minimize any slowdown.
And just like that, an SSL certificate has been successfully deployed in Webuzo! You've made significant progress in enhancing your website's SEO, and thanks to the increased security, your visitors can browse with confidence. Recall that things are always changing in the realms of online security and cloud website hosting. Look out for fresh SSL technology advancements and Webuzo upgrades.

Let’s talk about the future, and make it happen!

 Pricing
Calculator
Pricing
Calculator
 Power
Power
 Utilities
 VMware
Private Cloud
VMware
Private Cloud VMware on
AWS
VMware on
AWS VMware on
Azure
VMware on
Azure Service
Level Agreement
Service
Level Agreement 