 Server
Colocation
 CDN
Network
 Linux Cloud
Hosting
 VMware Public
Cloud
 Multi-Cloud
Hosting
 Cloud
Server Hosting
 Kubernetes
 API Gateway

DirectAdmin is a popular web hosting control panel. It provides a graphical interface and automation tools for simplifying website management. One of its essential features is the ability to send notification emails. It can inform administrators and users about various events and changes related to their hosting environment.
Enabling notification emails in DirectAdmin involves several steps, including:
- Setting up the email server
- Configuring DirectAdmin,
- Customizing notification settings
This guide will walk you through enabling notification emails from DirectAdmin in a detailed, step-by-step manner.
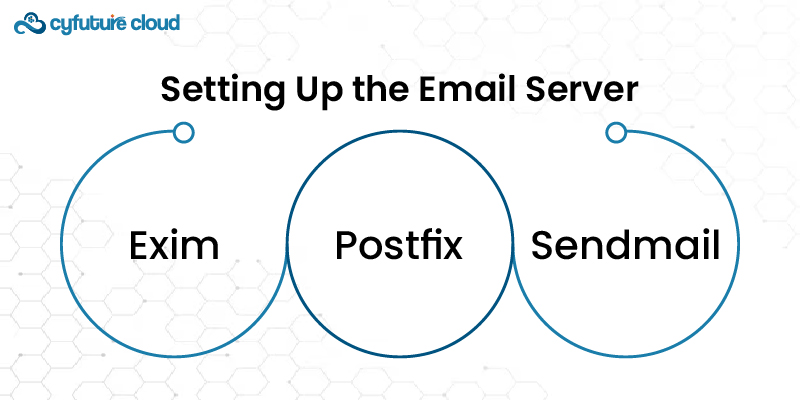
Before DirectAdmin can send notification emails, you must ensure your server is properly configured to handle outgoing emails. It typically involves setting up a Mail Transfer Agent (MTA) like:
- Exim,
- Postfix,
- Sendmail
DirectAdmin commonly uses Exim as its default MTA.
Most Linux distributions provide Exim through their package managers. On a CentOS system, for instance, you can install it using the following command:
yum install exim
On a Debian-based system like Ubuntu, you can use:
apt-get install exim4
After installation, you must configure Exim to ensure it is correctly set up to send emails. The primary configuration file is typically located at
/etc/exim/exim.conf
or
/etc/exim4/exim4.conf
Ensure the configuration file contains the correct settings for your servers:
- Hostname
- Domain
- Other parameters.
Once Exim is installed and configured, start the service and enable it to start at boot:
systemctl start exim
systemctl enable exim
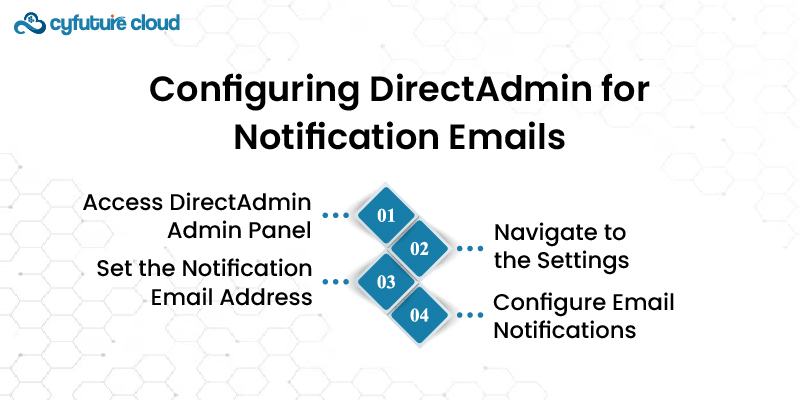
With your email server set up, the next step is to configure DirectAdmin to use it to send notification emails.
Log in to your DirectAdmin control panel with admin credentials. This typically involves navigating to http://yourdomain.com:2222. Enter your admin login credentials.
Once logged in, go to "Administrator Settings." You can find this under the "Admin Tools" section on the main dashboard.
In the Administrator Settings, you will see an option for "Admin Email Address." Enter the email address you wish to use to receive administrative notifications. It will be used for critical alerts and other significant updates.
Under the same settings, you will find options to configure various types of email notifications. This might include alerts for:
- Server status updates
- Bandwidth and disk space warnings
- Account creation, modification, or deletion
- Security alerts
Enable or disable these notifications according to your preferences. Each notification type usually has a checkbox or a toggle switch.
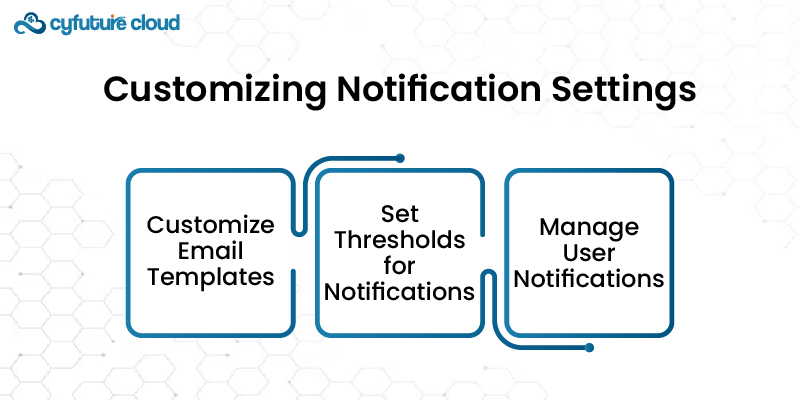
DirectAdmin provides flexibility in customizing the content and behavior of notification emails. This customization ensures that the emails you receive are informative and relevant.
DirectAdmin allows you to customize the templates used for notification emails. To do this, navigate to the "Message System" section under the "Admin Tools" menu. Here, you can find and edit templates for various notification types.
For instance, you might want to modify the subject lines or the body content of the emails to include specific details or formatting that suits your needs.
You can also set thresholds for when certain types of notifications are triggered. For example, you might want to receive an alert when server disk usage reaches 80% capacity. These settings are typically found under the "Server Management" or "Statistics" within the admin panel.
If an admin manages multiple user accounts, you can also configure user-specific notifications. Navigate to the "User Level" section, select a user, and then configure the notifications they should receive. This can help inform users about password changes, account limits, and usage warnings.
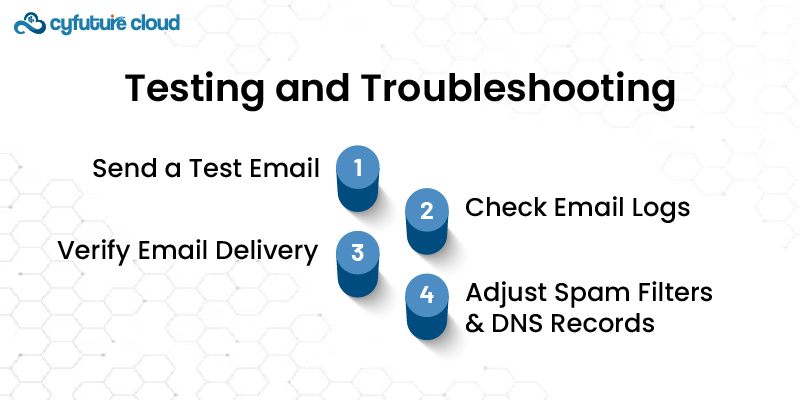
DirectAdmin usually provides an option to send a test email. Navigate to the "Message System" and look for an option like "Send Test Message." Enter your email address and send a test email to verify that your configuration works.
Check the email logs for errors if the test email is not received. Depending on your system configuration, logs can be found in
/var/log/exim
or
/var/log/mail
Look for any error messages that can help diagnose the issue.
Ensure that your email server is not blacklisted. You must also assure that emails are not being marked as spam. It can occur if the server IP address has a poor reputation or the email content triggers spam filters. Tools like MXToolbox can help check if your server is blacklisted.
Consider setting up SPF, DKIM, and DMARC records for your domain to improve email delivery. These help authenticate your emails and reduce the likelihood of them being marked as spam.
Enabling notification emails from DirectAdmin is a multi-step process. Following the steps outlined in this guide ensures that your DirectAdmin installation effectively communicates important events and alerts. Thus keeping administrators and users well-informed. This capability enhances the overall management and responsiveness of your hosting environment. It leads to better operational efficiency and user satisfaction.

Let’s talk about the future, and make it happen!
By continuing to use and navigate this website, you are agreeing to the use of cookies.
Find out more


