 Server
Colocation
Server
Colocation
 CDN
Network
CDN
Network
 Linux Cloud
Hosting
VMware Public
Cloud
Multi-Cloud
Hosting
Cloud
Server Hosting
Linux Cloud
Hosting
VMware Public
Cloud
Multi-Cloud
Hosting
Cloud
Server Hosting
 Kubernetes
 API Gateway
WP is the most used open-source CMS in the world and it makes people proud playing a role in 40% of the websites. It offers a self-service medium to which individuals can submit their websites, blogs, and online stores for management. Here, we will review installing WordPress on Ubuntu 18.04 using the Lamp (Linux, apache, my SQL, and PHP) pile.
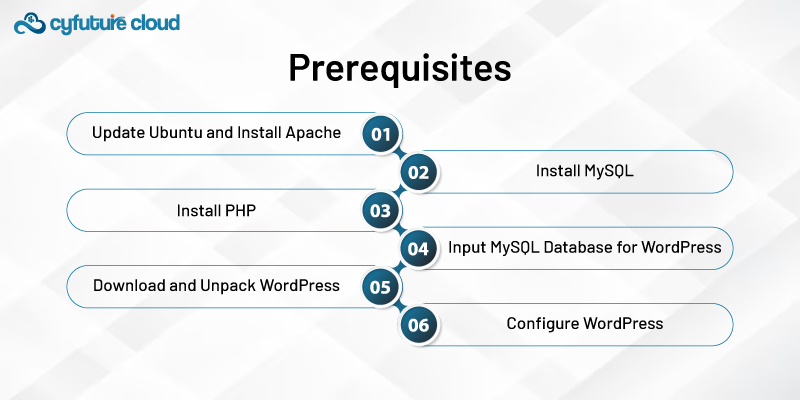
Before we begin, ensure that you have the following prerequisites:
- A Ubuntu 18.04 server, or a Virtual Private Server (VPS) with root access, both are recommended for the installation process.
- Add a normal user who has sudo rights and has been given access for logging to the server.
First, update the package index and install the latest updates for Ubuntu:
sudo apt update
sudo apt upgrade
Next, install Apache web server:
sudo apt install apache2
When the installation is done, check the Apache server. You can check if it is running by going to your server's IP or domain name in your web browser. You should see the default Apache welcome page.
WordPress is a constituent that needs a database administration system to present and patrol files and settings (content and settings). Therefore, we will use MySQL for that end.
sudo apt install mysql-server
Setting up MySQL at this point will require you to define a root password for it. Use secure and high-quality passwords.
PHP building the core of WordPress simply means that the server should be configured to run PHP while all its classes should be putting into action to guarantee that the CMS runs well.
sudo apt install php + libapache2-mod-php php-curl php-gd php-mbstring php-xml + php-xmlrpc + php-soap php-intl php-zip
After the installation, restart Apache to load the PHP module:
sudo systemctl restart apache2
Lastly, We need to involve a MySQL database dedicated to storage of the data related to WordPress.
1. Log in to the MySQL root account:
sudo mysql -u root -p
2. Create a new database and a dedicated user account for WordPress:
CREATE DATABASE wordpress_db;
CREATE USER 'wordpress_user'@'localhost' IDENTIFIED BY 'your_strong_password';
GRANT ALL PRIVILEGES ON wordpress_db.* TO 'wordpress_user'@'localhost';
FLUSH PRIVILEGES;
EXIT;
Change wordpress_db with your database name, wordpress_user with your username and i am using a trusted username and your_strong_password is a strongly secure password for the WordPress user account.
1. Navigate to the Apache document root directory:
cd /var/www/html/
2. Make sure you get the current version of WordPress:
sudo wget https://wordpress.org/latest.tar.gz
3. Extract the downloaded archive:
sudo tar -xvzf latest.tar.gz
4. Rename the extracted directory to something more descriptive (optional):
sudo mv wordpress/ your_site_name
5. Assign proper ownership and permissions to the WordPress files:
sudo chown -R www-data:www-data /var/www/html/your_site_name/
sudo chmod -R 755 /var/www/html/your_site_name/
1. Navigate to your server's IP address or domain name in a web browser (e.g., http://your_server_ip or http://your_domain.com).
2. Now you'd better let the WordPress installation wizard take over! Then I would select the language on the screen and click on "Continue."
3. On the next screen, provide the database details you created earlier:
- Database Name: wordpress_db
- User Name: wordpress_user
- Password: your_strong_password
- Database Host: localhost
- Table Prefix: (leave as default)
4. "Submit" and proceed to install.
5. Go to the next screen. There, you need to provide your site details, for example, site title, admin username, password, and email address.
6. Installation is then complete. Please log into the Dashboard of WordPress using the Username and password you have given.
Congratulations! Using the LAMP stack, you installed the WordPress blog on your Ubuntu 18.04 server.
Similarly, extra precision in the Configuration and Security Recommendations will be required.
While the basic installation is complete, there are a few additional steps you can take to enhance the security and performance of your WordPress site: Nevertheless, after the installation is finished, you may conduct a couple of extra steps to improve the safety and productivity of your site.
- Update WordPress, Plugins, and Themes: Think of using the more advanced version of WordPress, or doing everything you can to receive quick updates on the latest patches of security, and get the cooler feature enhancements.
- Install Security Plugins: Along with it, by installing the security plugins, frequently adding new features and updating to the latest version, you will be at more of an advantage to the hackers and keep them at bay by blocking brute force attacks, malware and vulnerabilities.
- Enable SSL/TLS: Enhance the security of your WordPress website by adding an SSL/TLS certificate which will encrypt the informational data that will be passed to another server. This way, you'll be assuring that the information of your users is protected and they can enjoy good services offline without the fear of being attacked by malicious people.
- Configure Caching: Favor caching techniques like browser caching and server-level caching (e.g. Redis, Memcached) and access intermediaries such as the CDN to enhance website performance.
- Backup Regularly: Make sure you have a reliable full backup strategy in place so that whatever may occur, you can easily restore your WordPress website and data.
- Secure Server: Do not log in as root, instead, create a separate user account with sudo privileges; use shuffle rules to allow connections and access only to necessary ports and services; keep the system up-to-date with the latest security patches.
You have learned a lot of information in this article and can also add more security features yourself to have your WordPress-installed environment running perfectly.

Let’s talk about the future, and make it happen!

 Pricing
Calculator
Pricing
Calculator
 Power
Power
 Utilities
 VMware
Private Cloud
VMware
Private Cloud VMware on
AWS
VMware on
AWS VMware on
Azure
VMware on
Azure Service
Level Agreement
Service
Level Agreement 