 Server
Colocation
 CDN
Network
 Linux Cloud
Hosting
 VMware Public
Cloud
 Multi-Cloud
Hosting
 Cloud
Server Hosting
 Kubernetes
 API Gateway


In the digital age, hosting a website on a reliable server is crucial to any online business. According to Statista, the number of websites worldwide exceeded 1.9 billion in 2023, which is growing rapidly. Choosing the correct server for web hosting is vital for ensuring a website runs smoothly. Linux has become the preferred choice for web hosting among various operating systems due to its stability, security, and cost-effectiveness. Whether you're running a personal blog or a complex e-commerce site, a properly configured Linux server can handle the demands of modern web hosting.
This knowledge base article will walk you through configuring a Linux server for web hosting. We’ll cover the essential steps involved, tools, and software you need, as well as some best practices to follow.
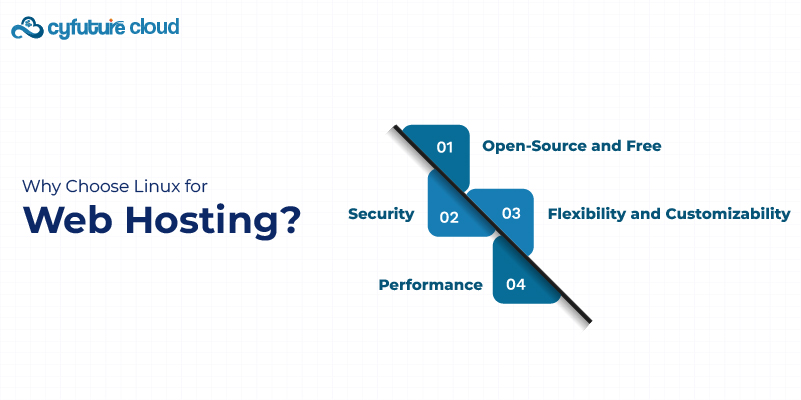
Linux is one of the most widely used operating systems for web servers, and it offers several advantages for web hosting:

Open-Source and Free: Linux is open-source and free unlike other operating systems. This makes it an affordable choice, especially for small businesses and individuals looking to minimize costs.
Security: Linux has a robust security model and provides various tools to secure your server from potential threats, including regular security patches and updates.
Flexibility and Customizability: Linux provides high flexibility, allowing users to configure and customize their server environment based on specific needs.
Performance: Linux is known for its stability and efficient resource management, ensuring your web hosting environment remains reliable and fast.
With these advantages, Linux is an excellent choice for anyone configuring a web hosting server.

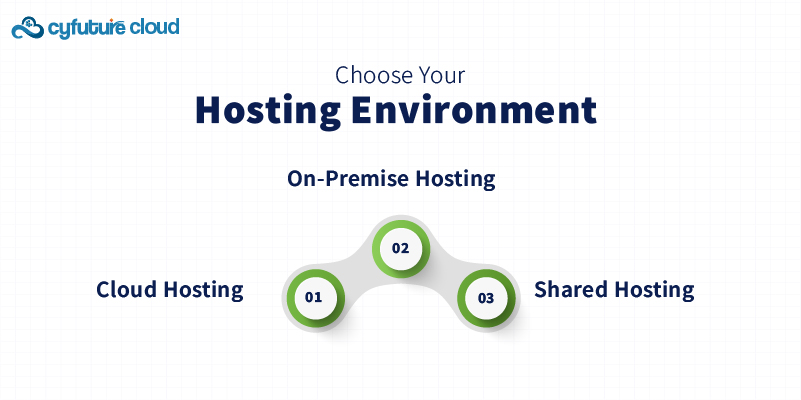
The first step in configuring your Linux server for web hosting is to decide where it will be hosted. You have several options to consider, including:
On-Premise Hosting: This involves hosting the server in your own data center or physical location.
Cloud Hosting: With cloud hosting, your server is hosted in a virtualized environment, typically in a remote data center, offering scalability and reliability. This is an increasingly popular choice for businesses of all sizes.
Shared Hosting: In shared hosting, multiple users share the same physical server. It’s a cost-effective solution, but it offers less control and fewer resources.
For those seeking flexibility and better performance, cloud hosting is a great choice. It allows you to scale your resources as needed, and you can often manage your server remotely from anywhere.
Once you've selected your hosting environment, the next step is to install a Linux distribution. There are several versions available, but for web hosting, some of the most popular choices include:

Ubuntu: Easy to use, with a strong community and regular updates.
CentOS: A stable distribution often used in enterprise settings.
Debian: Known for its stability and reliability.
Fedora: A more cutting-edge option for those who need the latest features.
Once you’ve selected a Linux distribution, follow the installation steps provided by the operating system. Make sure to configure network settings, time zones, and other system preferences during installation.

Security should always be a top priority when configuring a server for web hosting. Here are a few key security steps to take:
Update System Packages: Regularly update your server’s packages to ensure you’re protected from known vulnerabilities. Use commands like sudo apt update and sudo apt upgrade for Ubuntu-based systems.
Set Up a Firewall: Use tools like ufw (Uncomplicated Firewall) to configure firewall rules. This will help block unwanted traffic and restrict access to critical services.
Disable Root Login: To enhance security, disable direct root login over SSH by editing the /etc/ssh/sshd_config file and setting PermitRootLogin no.
Install Fail2Ban: This tool helps protect against brute-force attacks by monitoring login attempts and blocking suspicious IP addresses.
To host websites on your Linux server, you need to install a web server. The two most commonly used web servers are:

Apache: One of the most widely used web servers, Apache is highly customizable and supports a wide range of features, including virtual hosts and URL rewriting.
Nginx: Known for its speed and efficiency, Nginx is a popular choice for high-traffic websites. It can also be used as a reverse proxy server, load balancer, and more.
Both servers are capable of serving dynamic and static content, but Nginx is often preferred for performance-heavy applications, while Apache is easier to configure and more suitable for smaller websites.
To install Apache, use the command:
Copy code
sudo apt install apache2
For Nginx:
Copy code
sudo apt install nginx
If your website requires dynamic content, you’ll need a database management system (DBMS). MySQL and MariaDB are the most popular choices for Linux-based web hosting.

MySQL: A well-known open-source DBMS widely used in web applications.
MariaDB: A fork of MySQL, offering improved performance and enhanced features.
To install MySQL, use the command:
Copy code
sudo apt install mysql-server
For MariaDB:
Copy code
sudo apt install mariadb-server
If you are running a dynamic website, you will likely need to install PHP, a server-side scripting language. PHP works in conjunction with Apache or Nginx and your DBMS to generate dynamic content.
Install PHP with:
lua
Copy code
sudo apt install php libapache2-mod-php
For hosting multiple websites on the same server, you’ll need to set up virtual hosts. This allows you to serve different websites based on the domain name requested by the user.
For Apache, create a configuration file in /etc/apache2/sites-available/ and enable it with:
Copy code
sudo a2ensite yoursite.conf
For Nginx, create a server block in /etc/nginx/sites-available/ and create a symbolic link to /etc/nginx/sites-enabled/.
After configuring the server, test it by accessing your website through your domain name or IP address. Ensure that everything is running smoothly and that your website is accessible.
Configuring a Linux server for web hosting might seem daunting at first, but with the right tools and steps, it becomes a manageable task. Whether you’re setting up a small personal blog or a large business website, following the above steps will ensure your server is optimized for performance, security, and reliability.
If you're looking for a more hassle-free solution with scalability, consider leveraging Cyfuture Cloud. Our cloud hosting solutions are designed for businesses of all sizes, providing secure, fast, and cost-effective web hosting. With our managed services, you can focus on growing your website while we take care of the infrastructure. Explore Cyfuture Cloud for a seamless hosting experience in our cutting-edge data centers.
By choosing Cyfuture Cloud, you can enjoy the flexibility of the cloud without the complexity, ensuring your websites are always up and running with minimal downtime.

Let’s talk about the future, and make it happen!
By continuing to use and navigate this website, you are agreeing to the use of cookies.
Find out more


