 Server
Colocation
 CDN
Network
 Linux Cloud
Hosting
 VMware Public
Cloud
 Multi-Cloud
Hosting
 Cloud
Server Hosting
 Kubernetes
 API Gateway


MySQL is a broadly used open-source relational database management system (RDBMS) that has the reputation of being conveniently interectable and widely adaptable for many different purposes and web development projects. In a few cases, you might be required to export or import MySQL databases using the command line approach, rather than doing it from the GUI interface, like when you are working on a remote server that has SSH (Secure Shell) as the only access point.
This comprehensive tutoring will assist you as you work your way through the MySQL CLI over SSH process of importing and exporting databases.

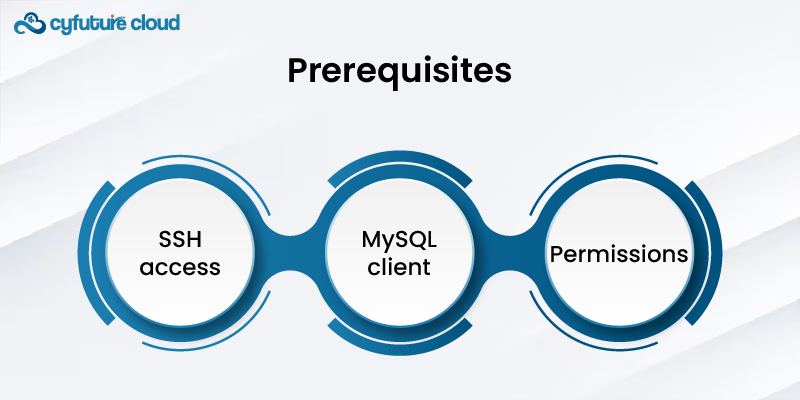
Before proceeding with the import and export procedures, ensure you have the following prerequisites:
1. SSH access: The connecting to the remote server where MySQL is installed you will need to have the SSH access. This is normally achieved by resolving the server IP address or hostname and submitting this address and the correct username/password (or SSH key).
2. MySQL client: The MySQL client utilities (mysql and mysqldump) need to installed and configured on the remote server. These tools are typically part of the MySQL server installation package. They might be missing, though. To fix it, you might have to install them separately.
3. Permissions: Ensure that you have enough permissions to work not only with databases but also to have the ability to read and amend the MySQL ones you plan on using. This should be paired with having the right user credentials or being a user from the group that has the rights permissions (e.g., root or admin).

The transfer of a MySQL database is performed in the following way - a consequent backup or saving of the database's structure and date and options is created. Backup can be applied for multiple options, for example during migration or creating a development and staging environment, even just for having a backup.
Compared to a visual presentation using graphical user interface, command line is a faster tool to export MySQL database:
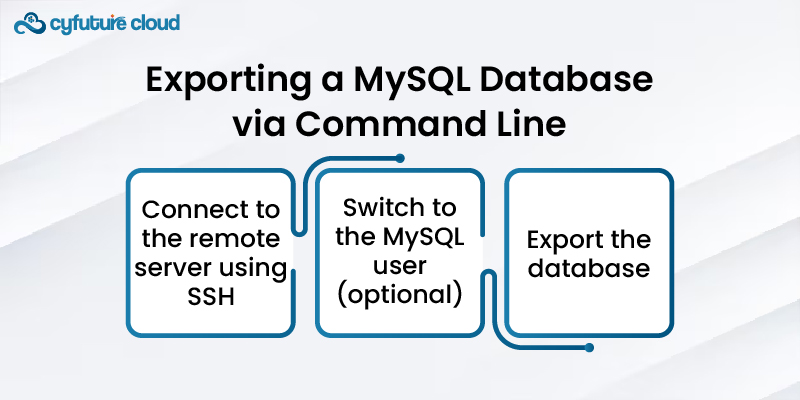
1. Connect to the remote server using SSH: First, open a new terminal window, which is commonly used to preferably get into the remote backup database from the local computer or command line. Then use secure shell (SSH) by entering the server credentials. The command will be similar to: The command is comparable to the 'mov' instruction, it loads a memory content to a device general register:
ssh user@remote_server_ip
As user, insert your username for login purpose and remote_server_ip, which is an IP address or hostname used for connecting the remote server.
2. Switch to the MySQL user (optional): Based on the particular server configuration a user may be required to switch from the MySQL user account to the root account or to administrator account before accessing MySQL commands. This step is the one that you mostly conduct when you do not happen to be logged in as a root user or a user with the rights required for this action.Use the following command:
sudo su - mysql
3. Export the database: mysqldump used for this purpose is a command that templates it. This command can be used to do a full export, which include data and create schema on destination server:
mysqldump -u [username] -p[password] [database_name] > [output_file.sql]
- Use [username] and [ password ] as your MySQL users credentials.
- In the place where [database_name] appears put the name of your database you want to export.
- In place of [output_file.sql], please enter the desiderated name of the file will be used to store the generated SQL file.
For example, a MySQL server database called my_database to be exported using the user root with its password mypassword, save the output to a file called backup.sql. This can be accomplished using:
mysqldump -u root -pmy-password my_database > backup.sql
The use or "command" as the case may be here will build backup.sql file of my_database characteristics which include both structure and the data.
Transfer the SQL file (optional): The scp (Secure Copy) command is one of the method to be used if you want to transfer the exported file from your local machine to the server. From your local machine's terminal, run:
scp user@remote_server_ip:/path/to/backup.sql /local/destination/path
Instead of user, use your username of the remote server. Replace remote_server_ip with either the IP address or the hostname of the remote server./path/to/backup.sql will be replaced with the actual existent path of the exported file on the remote server and to /local/destination/path change the desired local destination folder.
Say you want to transfer your locally saved SQL file to the remote one. The scp command might do that successfully. From your terminal console, issue the following command:
scp user@remote_server_ip:/path/to/backup.sql /local/destination/path
Rather than user, it should be user name on the remote server, remote_server_ip - IP address or hostname of the remote server, /path/to/backup.sql - actual path on the remote server to the exported SQL file, and /local/destination/path - local diretory path.
4. Create a new database (optional): You can use the database creation statements if you have no create statements in the import SQL file that you’re running import. To reach the MySQL server, make use of the mysql command:
mysql -u [username] -p
To begin with, rename the old file database to some other name:
CREATE DATABASE [database_name];
The following command will create your new MySQL database with your specified user credentials for [username] and database name [database_name].
5. Import the database: The following command - mysql - will be used to import the SQL file into the database as expected.The basic syntax is:
mysql -u [user name] -p[password] [database_name] < [input_file.sq
Change you user credentials MySQL for [username] and [password].
To do this, Insert [database_name] whichever database you want to write/add data to.
The parameter input_file.sql should be set to the path of the SQL file you would process.
For example, to import the backup.sql file into a database named my_database with the user root and password mypassword, run:
mysql -u root -p my password my_database< backup.sql
This command will transfer the schema and data from the my_database database's backup.sql file.

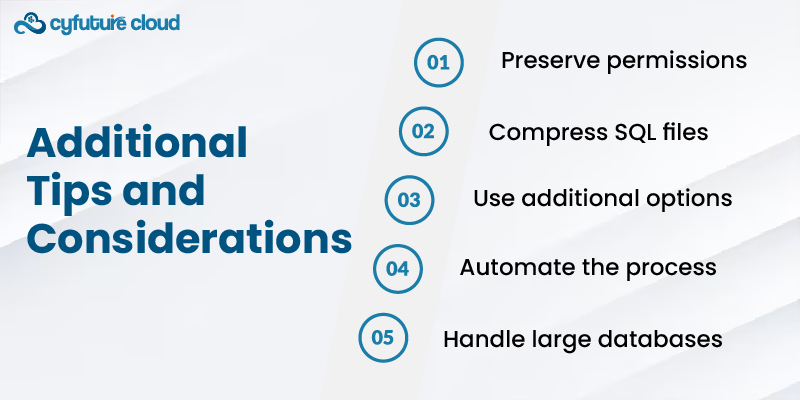
1. Preserve permissions: Where creating and importing databases, be sure to take care of the relevant permissions and ownership of the SQL files. If you have to, use chmod and chown and commands to set the privileges correspondingly.
2. Compress SQL files: In case of bigger databases, try to compress the SQL file to reduce time and network use before it is transferred. You can actually use mental tools such as gzip or bzip2 to compress the file, and then uncompress on the server before importing.
3. Use additional options: The mysqldump and mysql commands will give you an opportunity to alter the way in which export and import processes will be conduct. Such as you could ask for certain tables or databases to be included or excluded, add comment or comment, remove foreign key check, and so on. Go to the MySQL documentation for a detailed list of options you can adjust.
4. Automate the process: When you need to do the database import and export sometimes frequently, such like do the automation with the scripts or tools like Ansible, Puppet, and Shell scripts. It can save time and ensure that your work flow is osmotic, without gaps.
5. Handle large databases: When it encompasses extremely huge databases, it might be not viable to use the tested and sure method of creating single user-defined place by attaining the size and performance concerns. Such instances where the above mentioned methods have failed, bring the thought of using binary backups, partitioning the database into smaller chunks, and utilizing database replication methods.
Afterwards, you can said treaty to accomplish importing and exporting between MySQL databases over SSH prompt or a remote connectivity. This proficiency is critical for users like Database Administrators, Application Developers and System Administrators who often deal with remote MySQL databases.

Let’s talk about the future, and make it happen!
By continuing to use and navigate this website, you are agreeing to the use of cookies.
Find out more


