Server
Colocation
Server
Colocation
 CDN
Network
CDN
Network
 Linux Cloud
Hosting
VMware Public
Cloud
Multi-Cloud
Hosting
Cloud
Server Hosting
Linux Cloud
Hosting
VMware Public
Cloud
Multi-Cloud
Hosting
Cloud
Server Hosting
 Kubernetes
 API Gateway
 on Windows Server.jpg)
SQL Server Management Studio (SSMS) is a potent tool for administering databases in SQL Server. To better handle your databases, having SSMS installed on your Windows Server can assist you.
Here is a detailed process how to download ssms in few simple steps.
Let’s get started!
Ensure your Windows Server meets the system requirements for SSMS. Where can you find the specifications of your system? You can find the system requirements on the official Microsoft website.
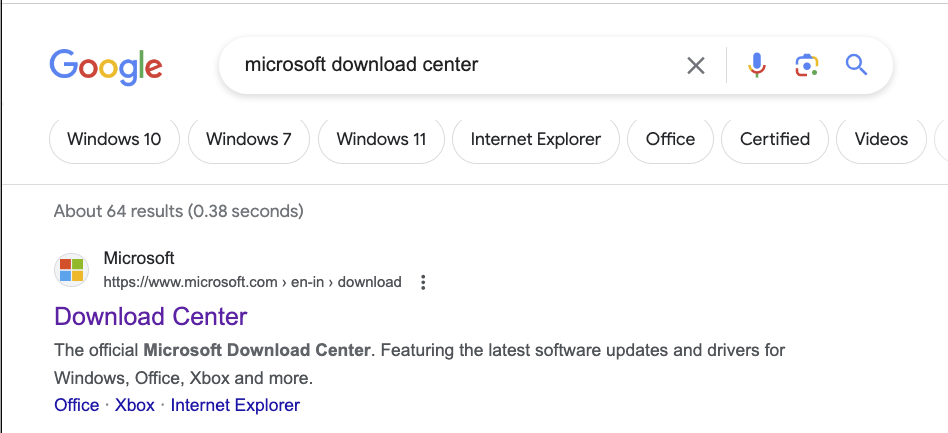
Open your browser and search for the Microsoft Download Center. As shown in figure:
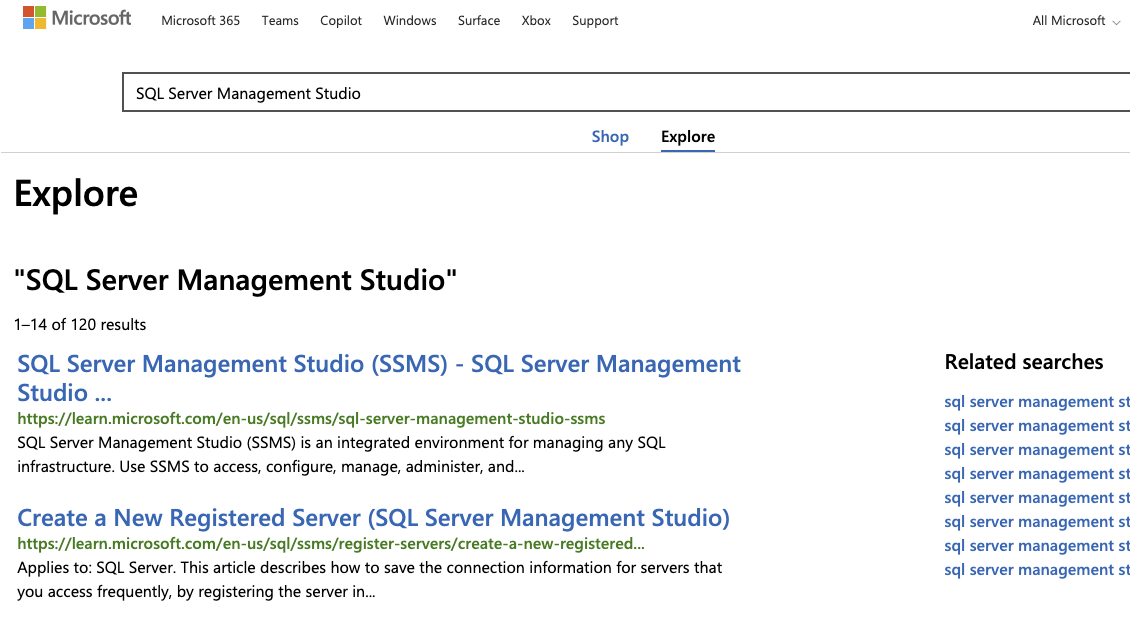
Once you open the Microsoft download center–type "SQL Server Management Studio" in the search bar.
Click on the link corresponding to the latest SSMS version and download ssms.
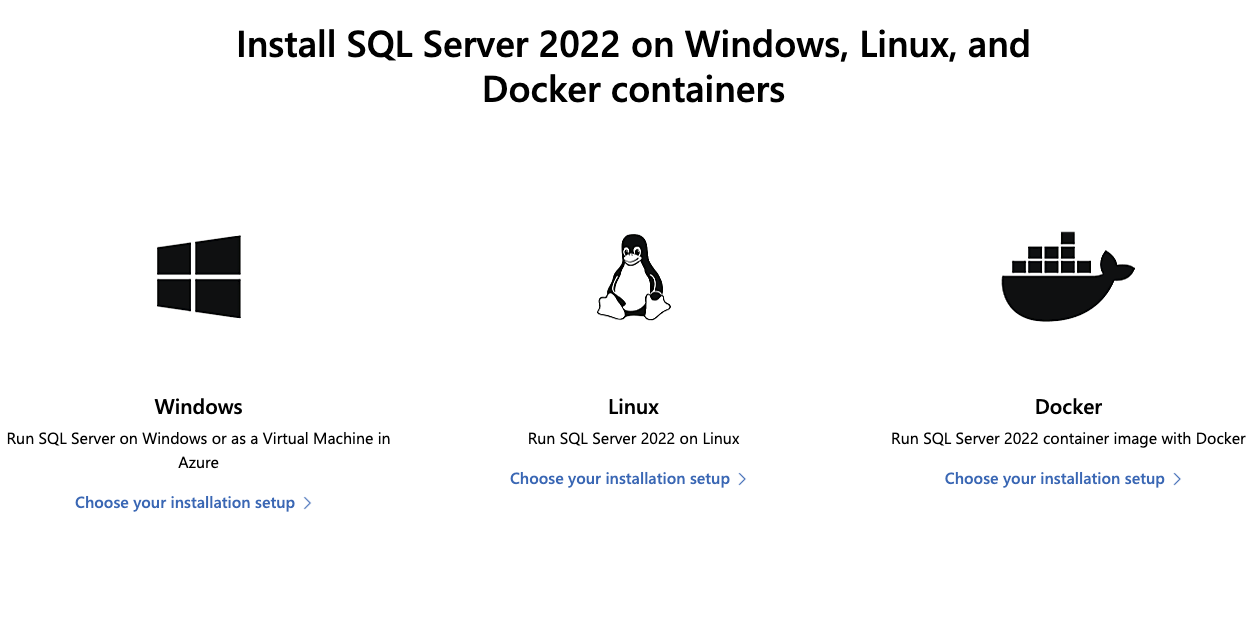
Once on the SSMS download page, install the SQL server on windows, Linux, and docker containers.
Step 3: Run the Installer
Once the download had been completed, opening the file initiated the installation process.
Should the User Account Control dialogue box emerge, consenting to permit the installer to customize the system configurations was necessary by selecting "Yes".
A overload of personalization prerogatives within the SSMS setup wizard were available for review and selection to satisfy one's needs.
Scanning the alternates, the "Install" button was engaged to initiate the installation routine.
The installation wizard will guide you through the installation process. Follow the on-screen instructions carefully.
You may be prompted to accept the license terms. Read the terms and conditions before proceeding forward,
Choose the installation location for SSMS or leave it as the default setting.
Click "Next" or "Install" to start the installation process.
You'll see a confirmation message indicating that SSMS has been successfully installed.
Click "Finish" to exit the installation wizard.
You can launch SQL Server Management Studio from the Start menu or search for it in the Windows search bar.
Yet, it still needs to be solved! Contact our cloud hosting professionals; they will be happy to assist you.
Once SSMS is launched, you may be prompted to connect to an SQL Server instance.
Enter the necessary connection details to connect to your database server.
Following the above process you can easily download and install SQL Server Management Studio (SSMS) on your Windows Server. Futher, you can easily use SSMS to manage your SQL Server databases.

Let’s talk about the future, and make it happen!

 Pricing
Calculator
Pricing
Calculator
 Power
Power
 Utilities
 VMware
Private Cloud
VMware
Private Cloud VMware on
AWS
VMware on
AWS VMware on
Azure
VMware on
Azure Service
Level Agreement
Service
Level Agreement