Server
Colocation
Server
Colocation
 CDN
Network
CDN
Network
 Linux Cloud
Hosting
VMware Public
Cloud
Multi-Cloud
Hosting
Cloud
Server Hosting
Linux Cloud
Hosting
VMware Public
Cloud
Multi-Cloud
Hosting
Cloud
Server Hosting
 Kubernetes
 API Gateway
Modifying nameservers in your domain is an essential task when you want to change the server that manages your area’s DNS settings. This may be vital when you turn to host companies or manipulate your DNS statistics via a 3rd-party celebration service. Below is a step-by-step manual for enhancing nameservers in your domain name.
Before intending, obtain the new nameservers from your website hosting issuer or DNS control provider. Typically, they offer as a minimum two nameservers, together with:
ns1.Example.Com
ns2.Example.Com
1. Visit the website of the domain registrar in which your domain is registered.
2. Enter your username and password to get admission to your account dashboard.
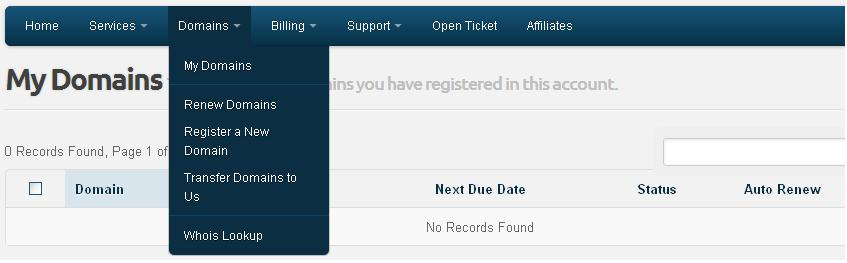
1. Once logged in, navigate to the section wherein your domains are indexed. This is commonly observed under "Domains" or "My Domains."
2. Select the domain call for which you need to modify the nameservers.
1. Look for the option to control DNS or trade nameservers. This is typically classified as DNS Settings, Nameserver Management, or Change Nameservers.
2. Click the correct option to regulate your nameservers.
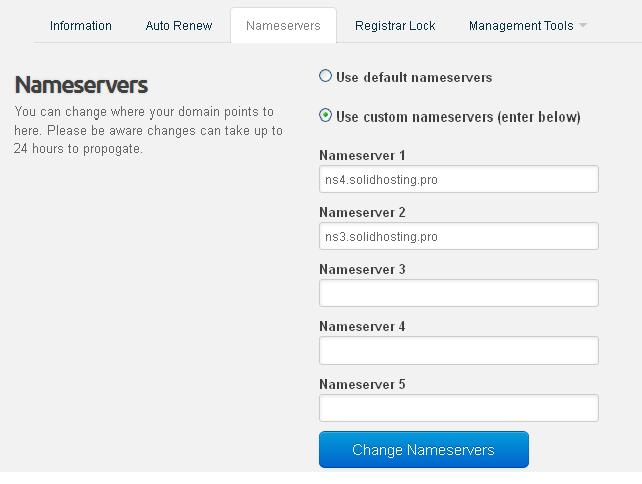
Step 5: Enter the New Nameservers
1. In the nameserver fields supplied, enter the new nameserver info you obtained in Step 1.
2. Make sure to enter them as it should be. Depending on your issuer, you may want to go into between four nameservers.
Once you've entered the brand-new nameservers, keep your adjustments by using clicking the Save or Update button.
DNS modifications don’t take effect without delay. The manner of DNS propagation can take in to 24-forty eight hours, at some stage in which time the modifications will progressively be reflected across the internet.
After the propagation period, you may verify if the nameserver changes have taken impact via:
1. Use online tools, including Whois or DNS Lookup, to check the modern nameservers related to your domain.
2. Accessing your internet site to make certain it resolves successfully.
1. Incorrect Nameservers: Double-take a look at the nameservers provided with the aid of your web hosting provider. An incorrect entry may prevent your website from being available.
2. Propagation Delay: If your modifications aren't contemplated right now, permit up to 48 hours for complete DNS propagation.
Modifying nameservers is an honest procedure, however, and is crucial for correct domain functionality. Ensure that you comply with the stairs effectively and double-take a look at the nameserver entries to avoid any downtime or DNS-related troubles.

Let’s talk about the future, and make it happen!

 Pricing
Calculator
Pricing
Calculator
 Power
Power
 Utilities
 VMware
Private Cloud
VMware
Private Cloud VMware on
AWS
VMware on
AWS VMware on
Azure
VMware on
Azure Service
Level Agreement
Service
Level Agreement