 Server
Colocation
 CDN
Network
 Linux Cloud
Hosting
 VMware Public
Cloud
 Multi-Cloud
Hosting
 Cloud
Server Hosting
 Kubernetes
 API Gateway


The installation process of Redis and PHP Redis on a cPanel server is quite simple. However, one has to pay close attention while doing it. The following procedures involve using WHM (Web Host Manager) to accomplish this.
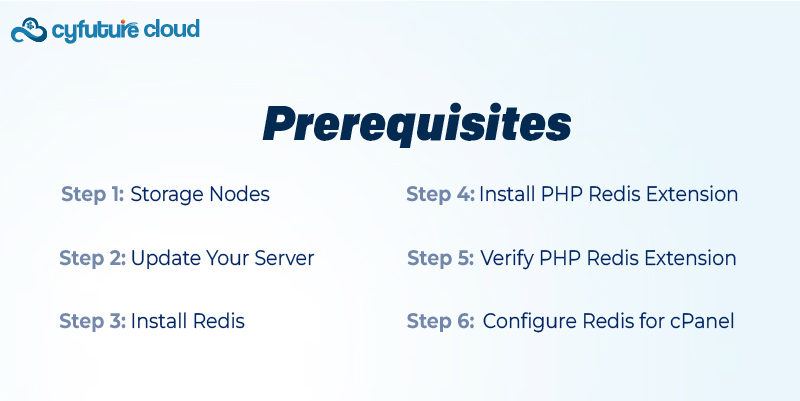
Before starting, ensure:

- You have root access to your cPanel server
- You are familiar with WHM.
- You'll also need a basic understanding of SSH.
- Open your web browser.
- Navigate to your WHM login page (https://your-server-ip:2087)
- Sign in with your root username and password.
Update your server packages before installing new software.
Log in to your server via SSH as the root user and run:
yum update -y
It ensures all your existing packages are up-to-date.
Redis is unavailable in the default CentOS repository, so you must add the Remi repository. Execute the following commands in your SSH terminal:
yum install -y epel-release
yum install -y http://rpms.remirepo.net/enterprise/remi-release-7.rpm
Now, enable the Remi repository:
yum-config-manager --enable remi
With the Remi repository enabled, you can now install Redis:
yum install -y redis
Start the Redis service and ensure it starts automatically on boot:
systemctl start redis
systemctl enable redis
Check if Redis is running
systemctl status redis
You should see a message indicating that Redis is active and running.
You need to install the PHP Redis extension. It allows PHP to communicate with Redis. It can be done through PECL.
First, ensure you have the necessary tools:
yum install -y php-pear php-devel
Use PECL to install the Redis extension:
pecl install redis
After installation, you must enable the Redis extension in your PHP configuration.
Add extension=redis.so to your php.ini file.
The location of this file can vary, but common paths include
/etc/php.ini
or
/etc/php/7.x/php.ini.
echo "extension=redis.so" >> /etc/php.ini
To apply the changes, restart Apache:
systemctl restart httpd
Create a PHP info file to ensure the PHP Redis extension is installed and enabled correctly.
Create a file named info.php in your web root directory (e.g., /var/www/html/):
phpinfo();
?>
Open your web browser and navigate to http://your-server-ip/info.php. Search for "Redis" on the page to confirm the extension is enabled.
To integrate Redis with cPanel, you might need to adjust some configurations.
Open the Redis configuration file /etc/redis.conf and make necessary adjustments based on your requirements. For example, you might want to bind Redis to a specific IP or adjust the max memory usage.
nano /etc/redis.conf
After making changes, restart Redis:
systemctl restart redis
If you plan to use Redis for PHP session handling, add the following lines to your php.ini file:
session.save_handler = redis
session.save_path = "tcp://127.0.0.1:6379
Following the above steps, you have installed Redis and the PHP Redis extension in your cPanel server. This setup enables you to fully utilize Redis for caching and session handling in your web application, making it faster. Always ensure that Redis and PHP are tuned to perform optimally and securely for your needs.

Let’s talk about the future, and make it happen!
By continuing to use and navigate this website, you are agreeing to the use of cookies.
Find out more


