 Server
Colocation
 CDN
Network
 Linux Cloud
Hosting
 VMware Public
Cloud
 Multi-Cloud
Hosting
 Cloud
Server Hosting
 Kubernetes
 API Gateway

 Setup in Kali Linux.jpg)
Applying the VPN in the O.S. background of Kali Linux equips users with high anonymity and security. VPNs have been designed to distort traffic and conceal your I.P. address; therefore, it is almost impossible to track your internet activity. This guide assists you in installing and configuring a VPN in Kali Linux using OpenVPN, one of the standard, most effective VPN protocols.
To kick things off, let me explain why one should bother with a VPN and its worth in the first place:
- Privacy Protection: VPN hides your internet connection and all the data that flows over it from hackers, ISPs, and governments of some countries.
- Access to Restricted Content: By connecting to a VPN, you can unrestricted and bypass such contents prohibited in your region.
- Secure Remote Access: It allows an individual to connect securely to another network. This is particularly handy for working from home or for people on business travels.

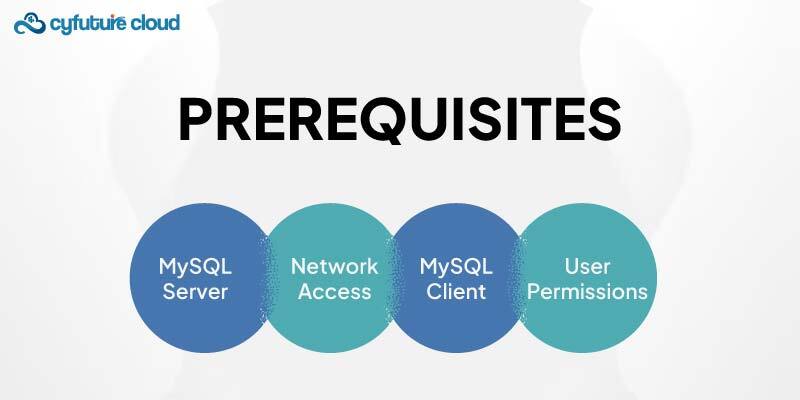
When ready for installation, make sure you have the following;
- A Kali Linux installation (preferably updated).
- OpenVPN and a VPN service, where this protocol is among the services offered, and the client pays a monthly subscription fee.
- Flexible parameters are available in files containing OpenVPN configuration parameters with a file extension. ovpn from your VPN provider. Most of these configuration files will be in OpenVPN, and you will have to get the correct option from your VPN provider.
Before a VPN configuration on Kali Linux is made, you must install OpenVPN. Type the following command in the terminal window if you have the terminal on your screen or start the terminal to type it there:
sudo apt update
sudo apt install openvpn network-manager-openvpn network-manager-openvpn-gnome
Subsequently, one must obtain the OpenVPN configuration files from the VPN service provider that you have subscribed to. Such files may be in the .zip format and consist of the required config file to connect to the VPN servers.
- Open your favorite web browser and follow the link to your VPN service provider.
- Go to the section related to OpenVPN configuration files.
- Download the configuration files for the servers you wish to connect to.
After you have done this, download the configuration files to the location that is preferred (usually the download folder) and unzip the files:
cd ~/Downloads
unzip your-vpn-config.zip
Replace your VPN-config.zip with the actual name of the downloaded file.
- Click on the Network Manager icon in the top right corner of your Kali desktop.
- Right-click on ‘VPN Connections’ > ‘Properties’.
- To set up the VPN connection, click the Add button on the current one.
- Select OpenVPN from the list and click ‘Create’.
- In the VPN configuration window that will display, click the Import a saved VPN configuration link.
- Go to the folder you extracted. Open the OVPN files and choose the preferences file.
- Click Open to import the settings.
Upon importing the configuration file, you are going to be asked for your VPN credentials:
1. If you are a first-time user, key in your username and password in the VPN configuration window.
2. If your VPN provider supports it, tick the box Save password for this user.
3. Click Save to finalize the configuration.
To connect to your newly created VPN connection:
1. Click on the Network Manager icon again.
2. Go to VPN Connections and double-click on the name of the VPN you have just designed.
3. You shall receive a notification that you are connected to the VPN.
To make sure that your VPN is on and working right, you can check out your public I.P.:
Connect your device with the internet before and after engaging the VPN to examine the I.P. address.
Once configured, the correct operation of a VPN should hide your I.P. address with that of the VPN server.

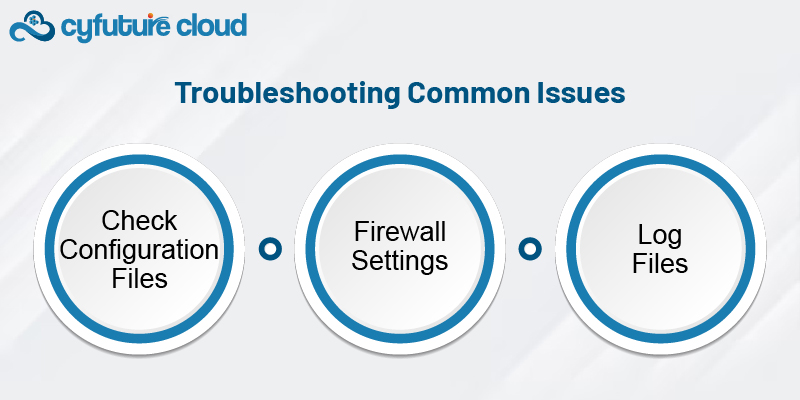
Some of the essential tips to consider while having problems configuring or connecting to your VPN are:
1. Check Configuration Files: Be very particular about the configuration files you downloaded, ensuring that they correspond with the server you want to connect to.
2. Firewall Settings: Make sure that your firewall settings do not prevent a connection to the VPN.
3. Log Files: To troubleshoot connectivity problems, search for error messages in the OpenVPN log files for possible clues.
sudo journalctl -u OpenVPN
Reboot: Problems with connectivity may sometimes be fixed by rebooting the system.
To enhance your security and privacy while surfing the internet, you can establish a VPN in Kali Linux using OpenVPN, which is easy. Going through this guide, you can install and set up a VPN and subsequently surf the internet anonymously and unblock any website. The VPN client should be updated from time to time and should also verify the new configuration file from the provider occasionally.

Let’s talk about the future, and make it happen!
By continuing to use and navigate this website, you are agreeing to the use of cookies.
Find out more


