Server
Colocation
Server
Colocation
 CDN
Network
CDN
Network
 Linux Cloud
Hosting
VMware Public
Cloud
Multi-Cloud
Hosting
Cloud
Server Hosting
Linux Cloud
Hosting
VMware Public
Cloud
Multi-Cloud
Hosting
Cloud
Server Hosting
 Kubernetes
 API Gateway
 Google Chrome stores DNS (Domain Name System) cache locally to speed up website loading. However, outdated or corrupted DNS records can sometimes cause issues like websites not loading correctly, domain resolution errors, or slow browsing. Clearing the DNS history in Chrome can fix these problems.
Follow these steps to clear DNS history in Chrome:
◾ Launch your Google Chrome browser.
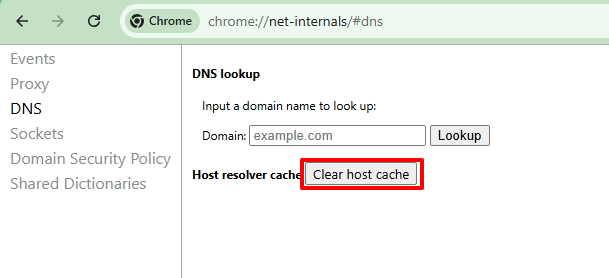
Type the following into the Chrome address bar and press Enter:
◾ chrome://net-internals/#dns
◾ You will see the DNS page of Chrome’s Net Internals tool.
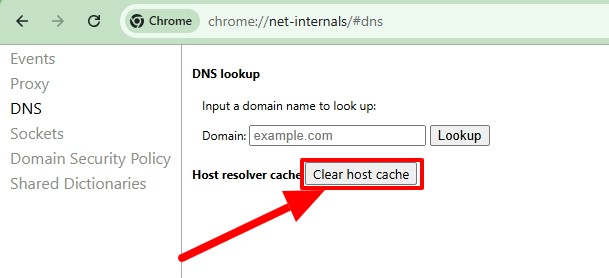
◾ Locate the button labeled “Clear host cache”.
◾ Click on it to clear all stored DNS records.
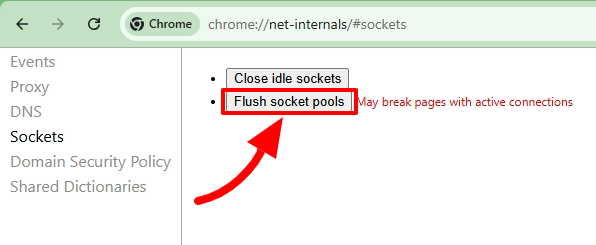
Sometimes, flushing sockets helps if clearing DNS alone doesn’t solve the issue:
Navigate to:
◾ chrome://net-internals/#sockets
◾ Click on “Flush socket pools”.
Close all Chrome windows and restart the browser to apply the changes.
You may want to clear Chrome’s DNS cache if you are facing:
◾ Websites not loading or showing an outdated version.
◾ Frequent “DNS_PROBE_FINISHED_NXDOMAIN” errors.
◾ Slow browsing due to cached records.
◾ Recent DNS or hosting changes that are not reflecting.
◾ Go to chrome://net-internals/#dns → Click Clear host cache.
◾ Optionally, flush socket pools at chrome://net-internals/#sockets.
◾ Restart Chrome for the changes to take effect.
Now, your Chrome browser will resolve domain names using fresh DNS records.

Let’s talk about the future, and make it happen!

 Pricing
Calculator
Pricing
Calculator
 Power
Power
 Utilities
 VMware
Private Cloud
VMware
Private Cloud VMware on
AWS
VMware on
AWS VMware on
Azure
VMware on
Azure Service
Level Agreement
Service
Level Agreement