 Server
Colocation
 CDN
Network
 Linux Cloud
Hosting
 VMware Public
Cloud
 Multi-Cloud
Hosting
 Cloud
Server Hosting
 Kubernetes
 API Gateway

When working with a dual or multi-monitor setup, many users prefer changing their primary monitor for a more efficient workflow. The primary monitor is where your computer displays the main desktop and taskbar by default, making it essential for gaming, video editing, and other intensive tasks. Changing the primary monitor at boot helps streamline your workflow right from system startup, saving you time from reconfiguring settings after every reboot.
In this knowledge-based guide, we’ll walk you through how to change the primary monitor at boot on your computer, considering upcoming trends and the future scope of multi-monitor setups.
◾ Right-click on Desktop
◾ Click Display settings
◾ Click the monitor you want as the main display
◾ Scroll down and check:
✅ Make this my main display
If the option is grayed out, that screen is already the main one.
◾ Apple Menu → System Settings
◾ Go to Displays
◾ Click Arrange
◾ Drag the white menu bar to the monitor you want as primary
◾ Right-click desktop
◾ Open NVIDIA Control Panel
◾ Go to Display → Set up multiple displays
◾ Right-click the monitor → Make primary
◾ Open AMD Radeon Software
◾ Go to Display
◾ Select monitor → Set as Primary
If the login/BIOS screen appears on the wrong monitor:
◾ Restart PC and enter BIOS (press Del / F2 / Esc at startup)
◾ Find Primary Display / Initial Display Output
◾ Set to:
◾ PCI-E / PEG (for dedicated GPU)
◾ OR select the correct monitor port (HDMI/DP)
Plug your main monitor into the first DisplayPort or HDMI on your GPU.
|
Issue |
Fix |
|
Option missing |
Update GPU drivers |
|
Wrong monitor keeps becoming the main |
Disconnect other monitors → set → reconnect |
|
Laptop external monitor |
Close the laptop lid (if allowed in power settings) |
|
USB display adapter |
Cannot be primary – use HDMI/DP |

There are various reasons why you might want to adjust your primary monitor at boot:
Improved Productivity: By changing the primary monitor at boot, you can ensure your main applications and windows always open where you want them, increasing productivity.
Better Gaming Experience: Gamers often require a specific monitor for high-performance gaming, and setting it as primary ensures that games and applications load on the right screen.
Creative Work: For graphic designers, video editors, and content creators, adjusting the primary monitor can help them focus on their projects without manually switching between monitors after startup.
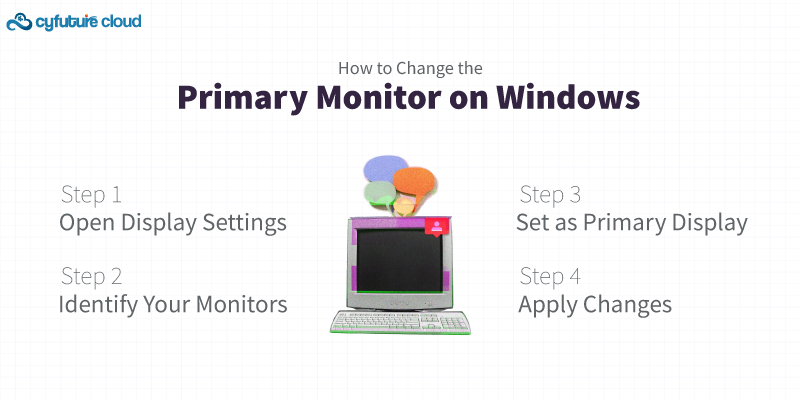
Changing the primary monitor on Windows is a straightforward process. Below are steps to perform this action and ensure the changes are applied at boot.
Right-click on your desktop and select Display settings.
A window will open displaying all connected monitors. Each monitor will be numbered (e.g., 1, 2, 3, etc.).
Identify your monitors by clicking on the Identify button. A large number will appear on each monitor to show its designation.
You have to Select the monitor that you want to set as the primary one.
Scroll down in the Display Settings window and find the option Make this my main display.
Check the box next to this option for the selected monitor.
Windows will automatically adjust the settings, and your selected monitor will now serve as the primary display at boot.
Click Apply to save your changes. The primary monitor will remain the same even after rebooting the computer.
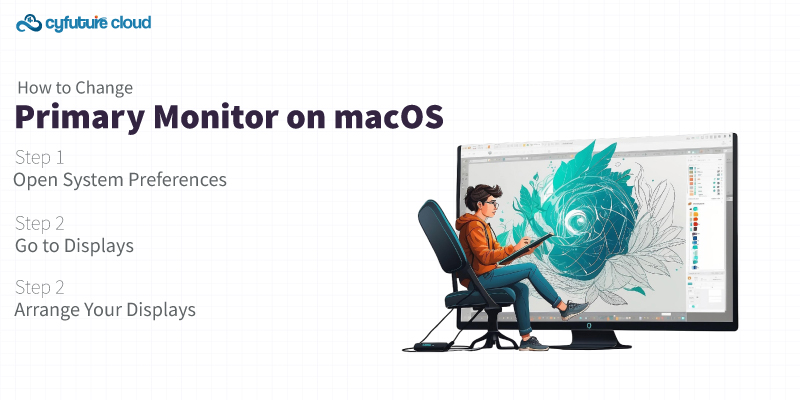
On macOS, the process of changing the primary monitor differs slightly but is still simple.
Press on the Apple icon taht is present on the top-left corner of the screen, then select System Preferences.
In the System Preferences window that you can see on your screen, click on Displays.
Under the Arrangement tab, you will see a layout of your displays.
To change the primary monitor, drag the white menu bar to the desired display.
Once you release it, that monitor will become the primary display.
In certain cases, you may want to set the primary monitor through the BIOS, especially when dealing with multiple GPUs (Graphics Processing Units). This ensures that the monitor connected to the preferred GPU becomes primary at boot, even before the OS loads.
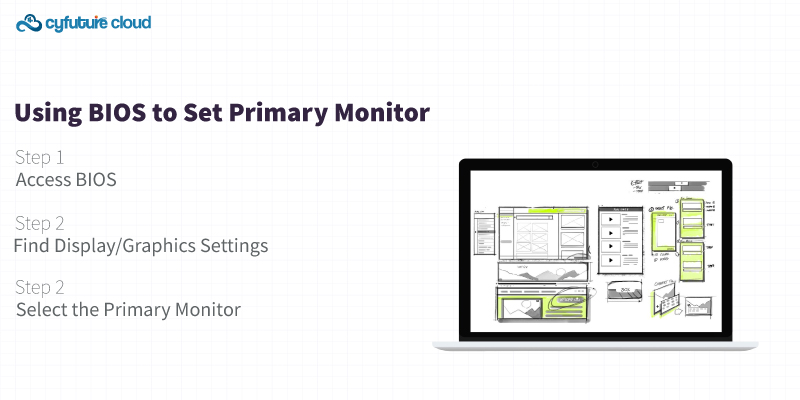
Restart your computer and press the Del, F2, or Esc key (depending on your system) to enter the BIOS settings.
In the BIOS, navigate to the Advanced or Display section.
Look for the option related to Primary Display, Graphics Settings, or Initial Display Output.
Select the monitor or GPU (PCIe, IGD, or PEG) that should output the display during boot.
Save the changes and exit BIOS. The monitor connected to the selected GPU will now become the primary monitor during boot.
As multi-monitor setups become more popular, the need for flexible monitor management will grow. Some predictable trends include:
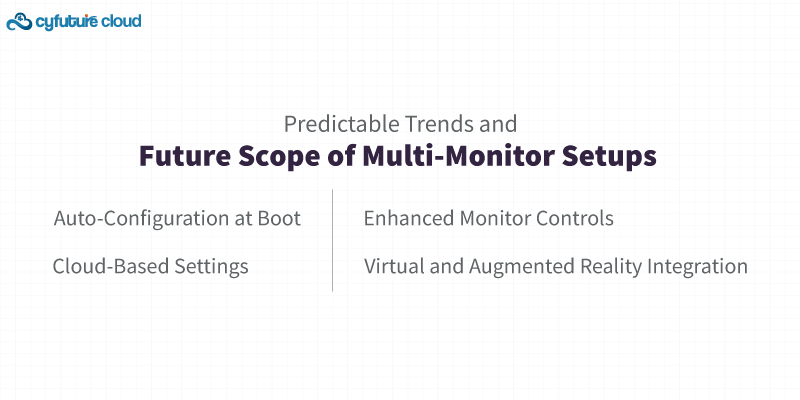
Auto-Configuration at Boot: Future OS updates may introduce smarter solutions that automatically configure the primary monitor based on user habits, without needing manual intervention.
Cloud-Based Settings: With cloud integration becoming common, settings like monitor arrangement could be saved in the cloud, enabling users to switch workstations and still maintain their preferred display configuration across devices.
Enhanced Monitor Controls: Advanced AI-driven features may soon optimize display arrangements based on the tasks you perform most frequently, such as setting gaming monitors for performance and productivity monitors for workflow at boot.
Virtual and Augmented Reality Integration: As VR and AR technologies develop, multi-monitor setups could eventually include virtual displays, giving users the flexibility to manipulate screens with gesture controls.
Changing your primary monitor at boot is essential for productivity, gaming, and creative work. Whether you're using Windows, macOS, or setting the primary display through BIOS, the process is simple and ensures that your preferred monitor displays the necessary content during startup.
As we move forward, multi-monitor setups are poised to become more sophisticated, and with technologies such as AI and cloud-based configurations, users can expect even more convenience and efficiency in managing their display setups.
With Cyfuture Cloud delivering cutting-edge technology solutions, you can ensure your IT infrastructure stays ahead of the curve, offering seamless performance for multi-monitor configurations and beyond.

Let’s talk about the future, and make it happen!
By continuing to use and navigate this website, you are agreeing to the use of cookies.
Find out more


